Search craftmarks
Prev
Next
18 records found. Page 1 of 1.
-
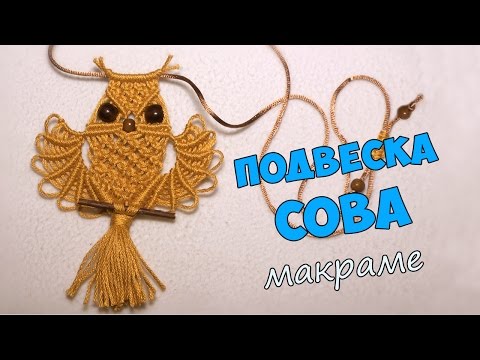
Russian Macrame Owl TutorialMacrame owl tutorial, in Russian, but since it is 95% visuals, the language doesn't matter. This design has the interesting features of: (a) tufty owl ears, (b) the wings are joined to the body with half-hitches over multiple cords, (c) the binding for the tail is done with whipping rather than square knots or half-hitches. This makes it a bit more uniform.2018-09-10 15:32:00
-
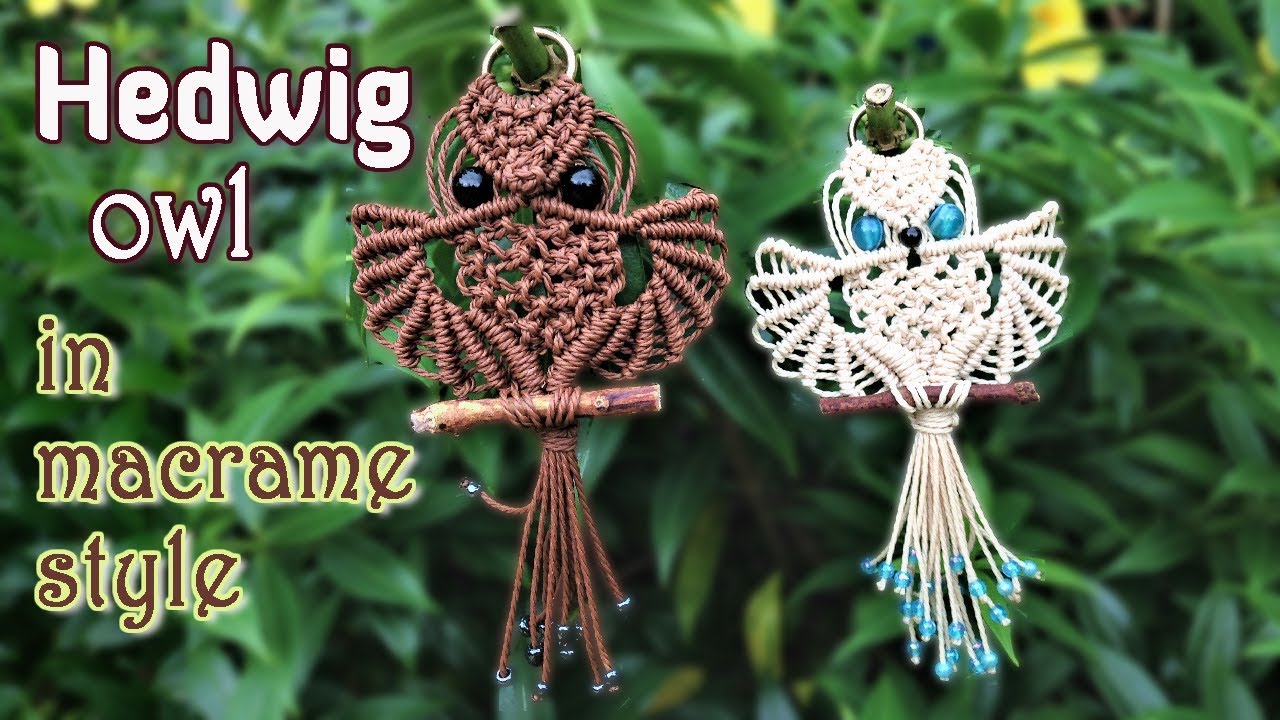
Macrame owl tutorial - The beautiful Hedwig of Harry Potter - Step by step giudeThis video Macrame owl tutorial, inspired by Harry Potter's Hedgwig. You can customize the color by changing the threads, the bigger size, the bigger product. One interesting feature of this design is that most of the square knots are three-strand rather than four-strand. Another interesting feature is the way half-hitches are tied over multiple cords to tie the wings and the body together.2018-09-10 14:29:00
-
Double 7 strand beaded kumihimo braidThis tutorial shows how to make a double 7 strand beaded kumihimo braid.2018-07-15 01:34:00
-
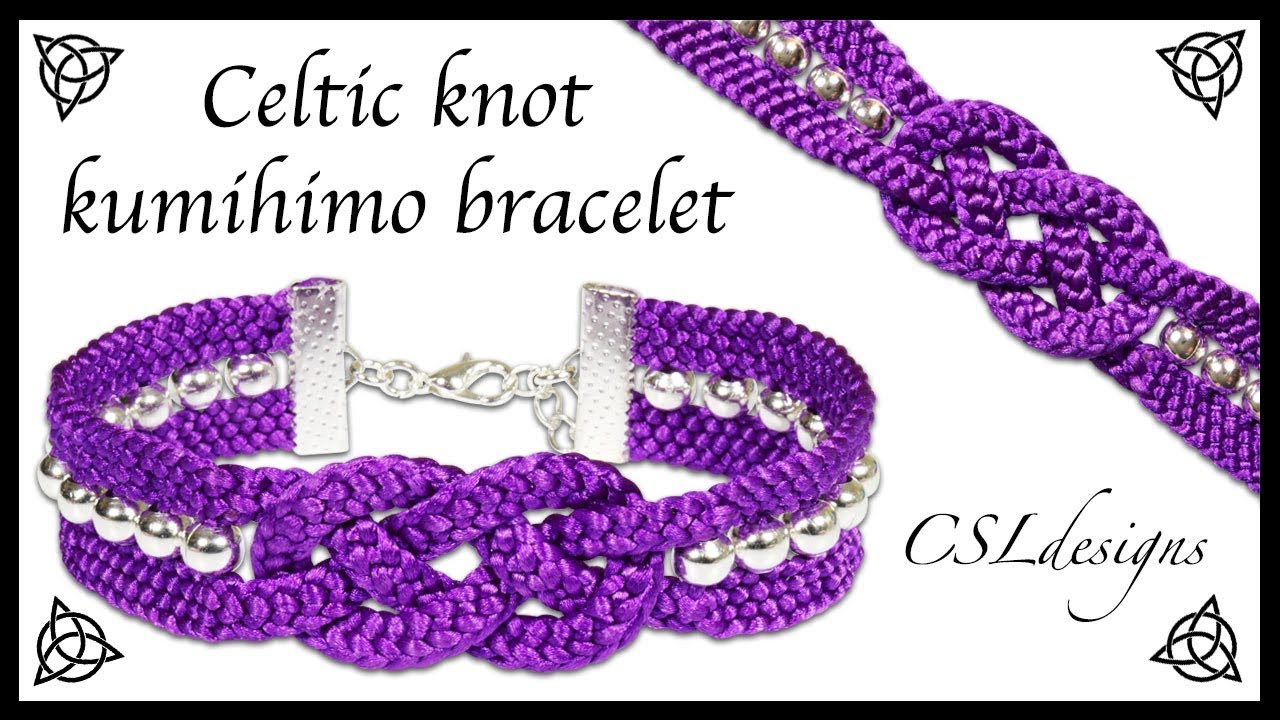
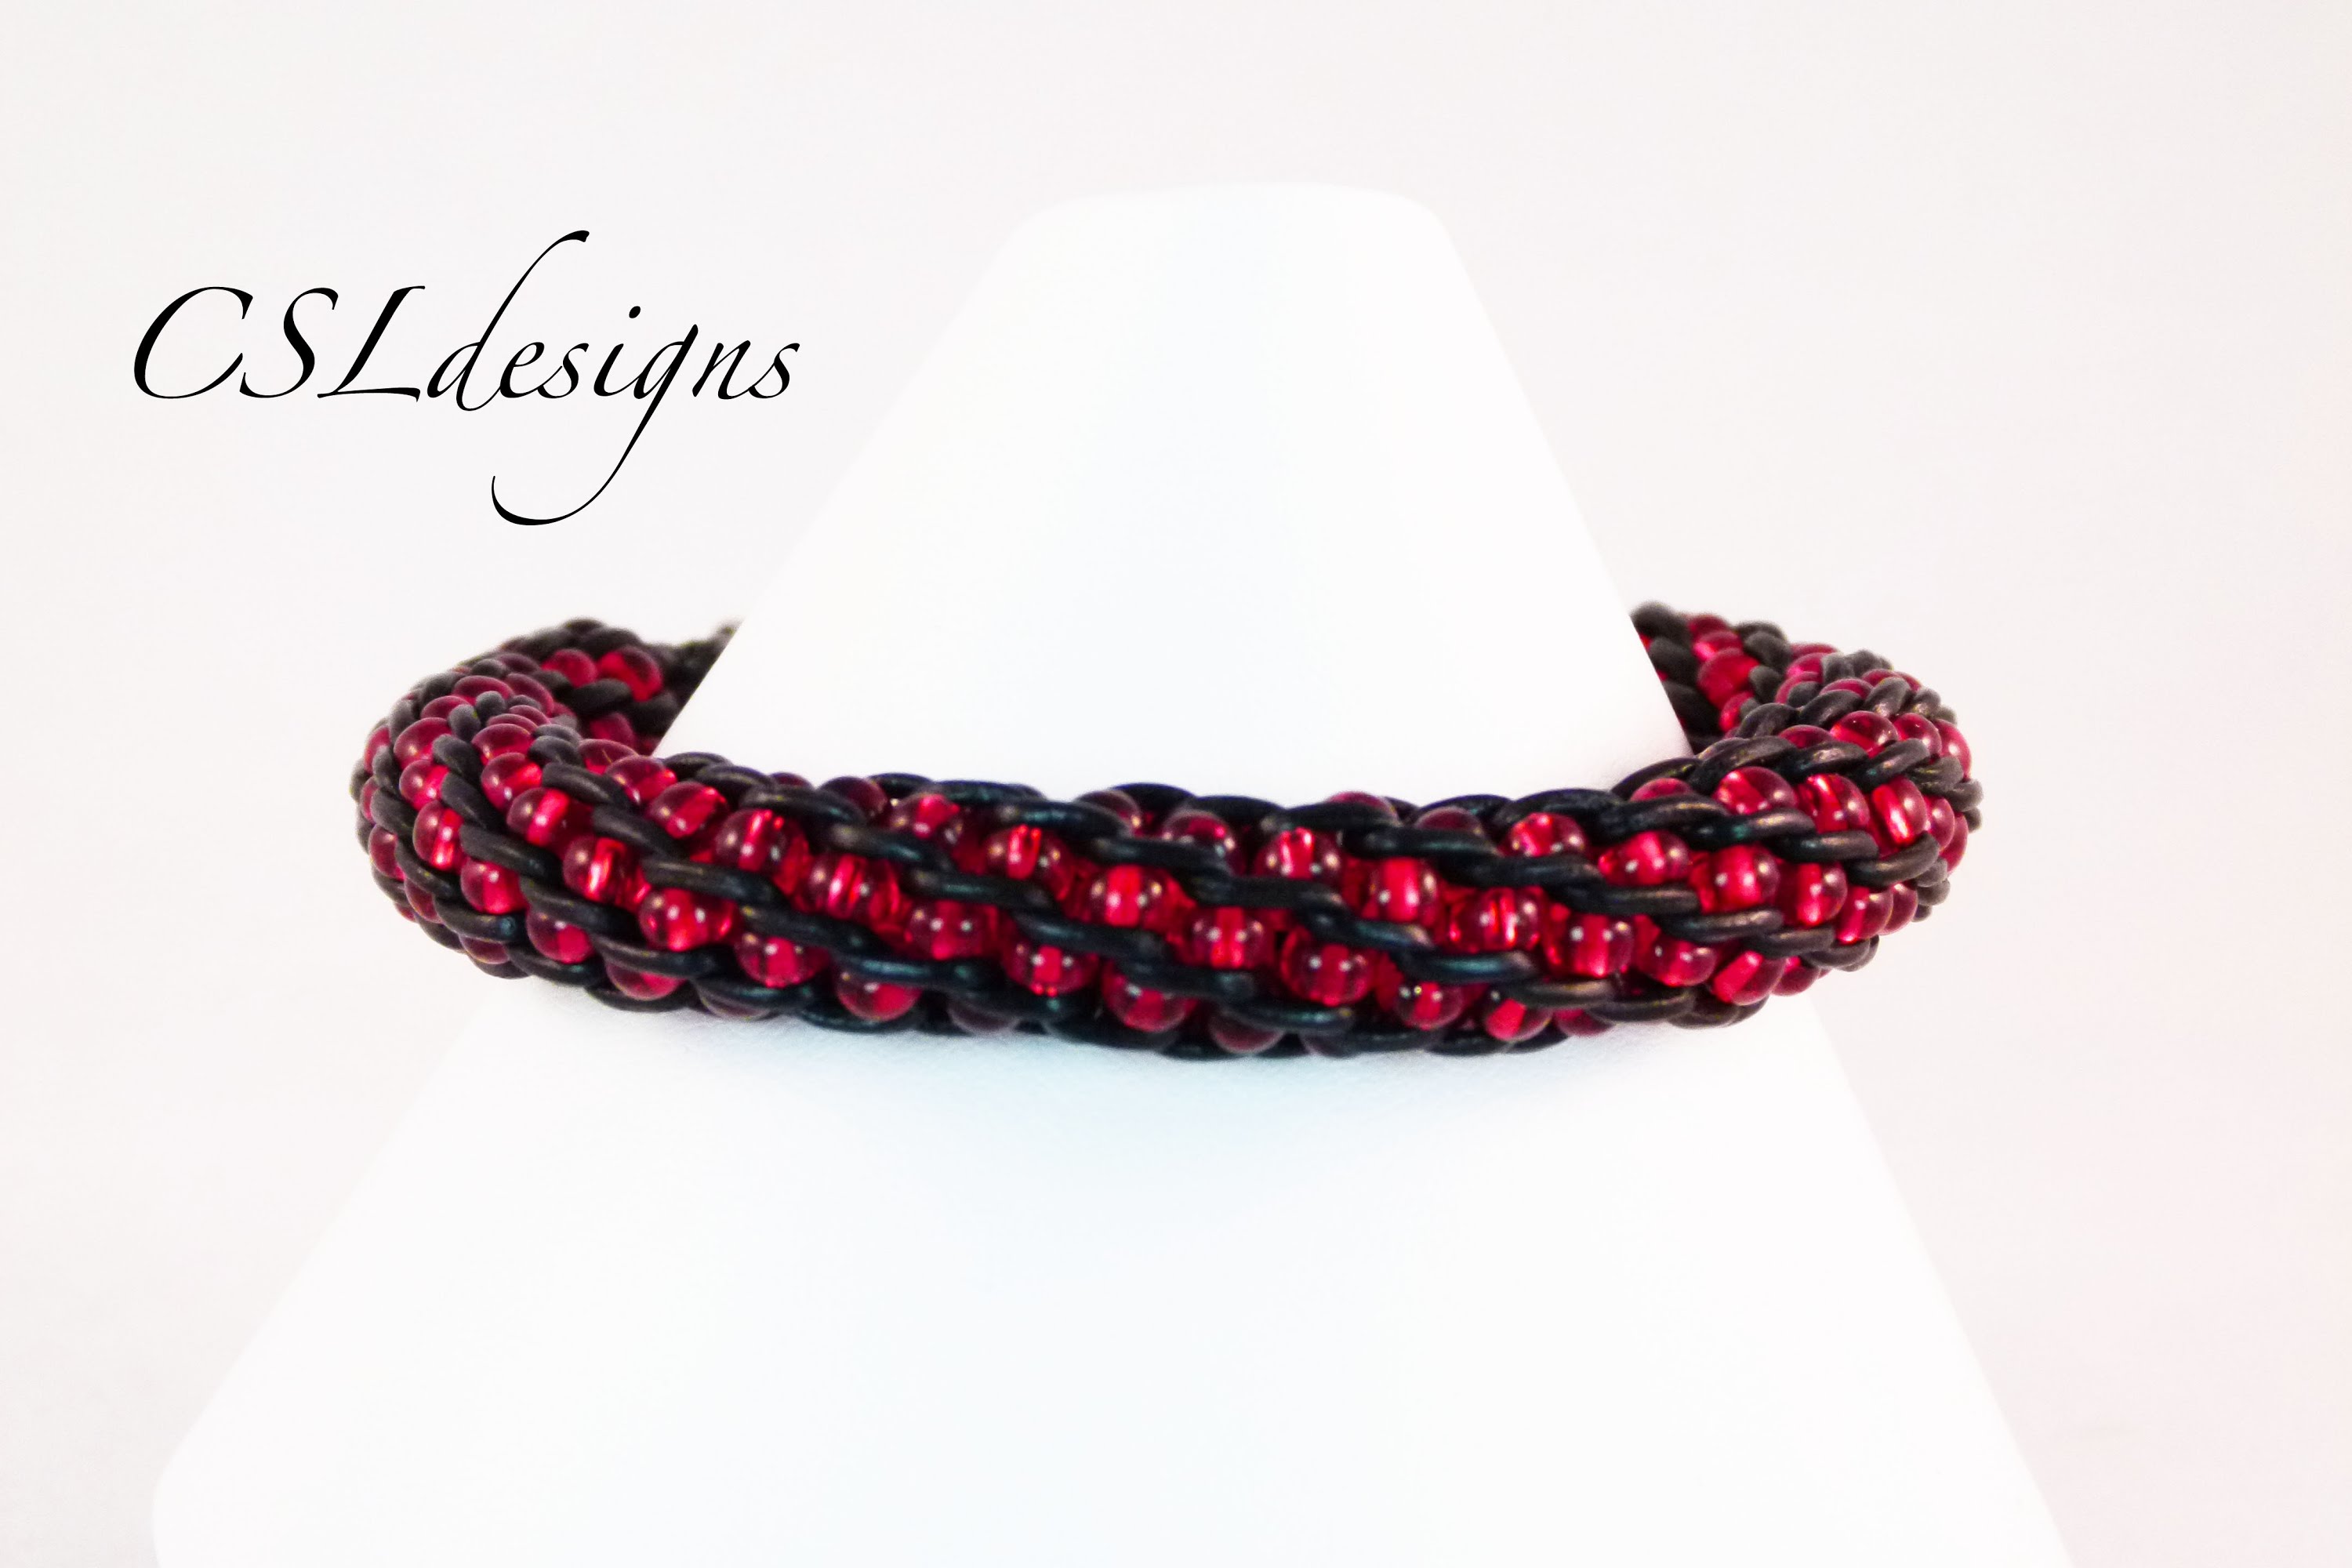
Celtic knot kumihimo braceletThis tutorial shows how to make a Celtic knot kumihimo bracelet. This uses two different braid structures to create the bracelet. Materials: 1mm satin cord 6mm round beads 20mm ribbon ends Findings2018-06-29 16:18:00
-
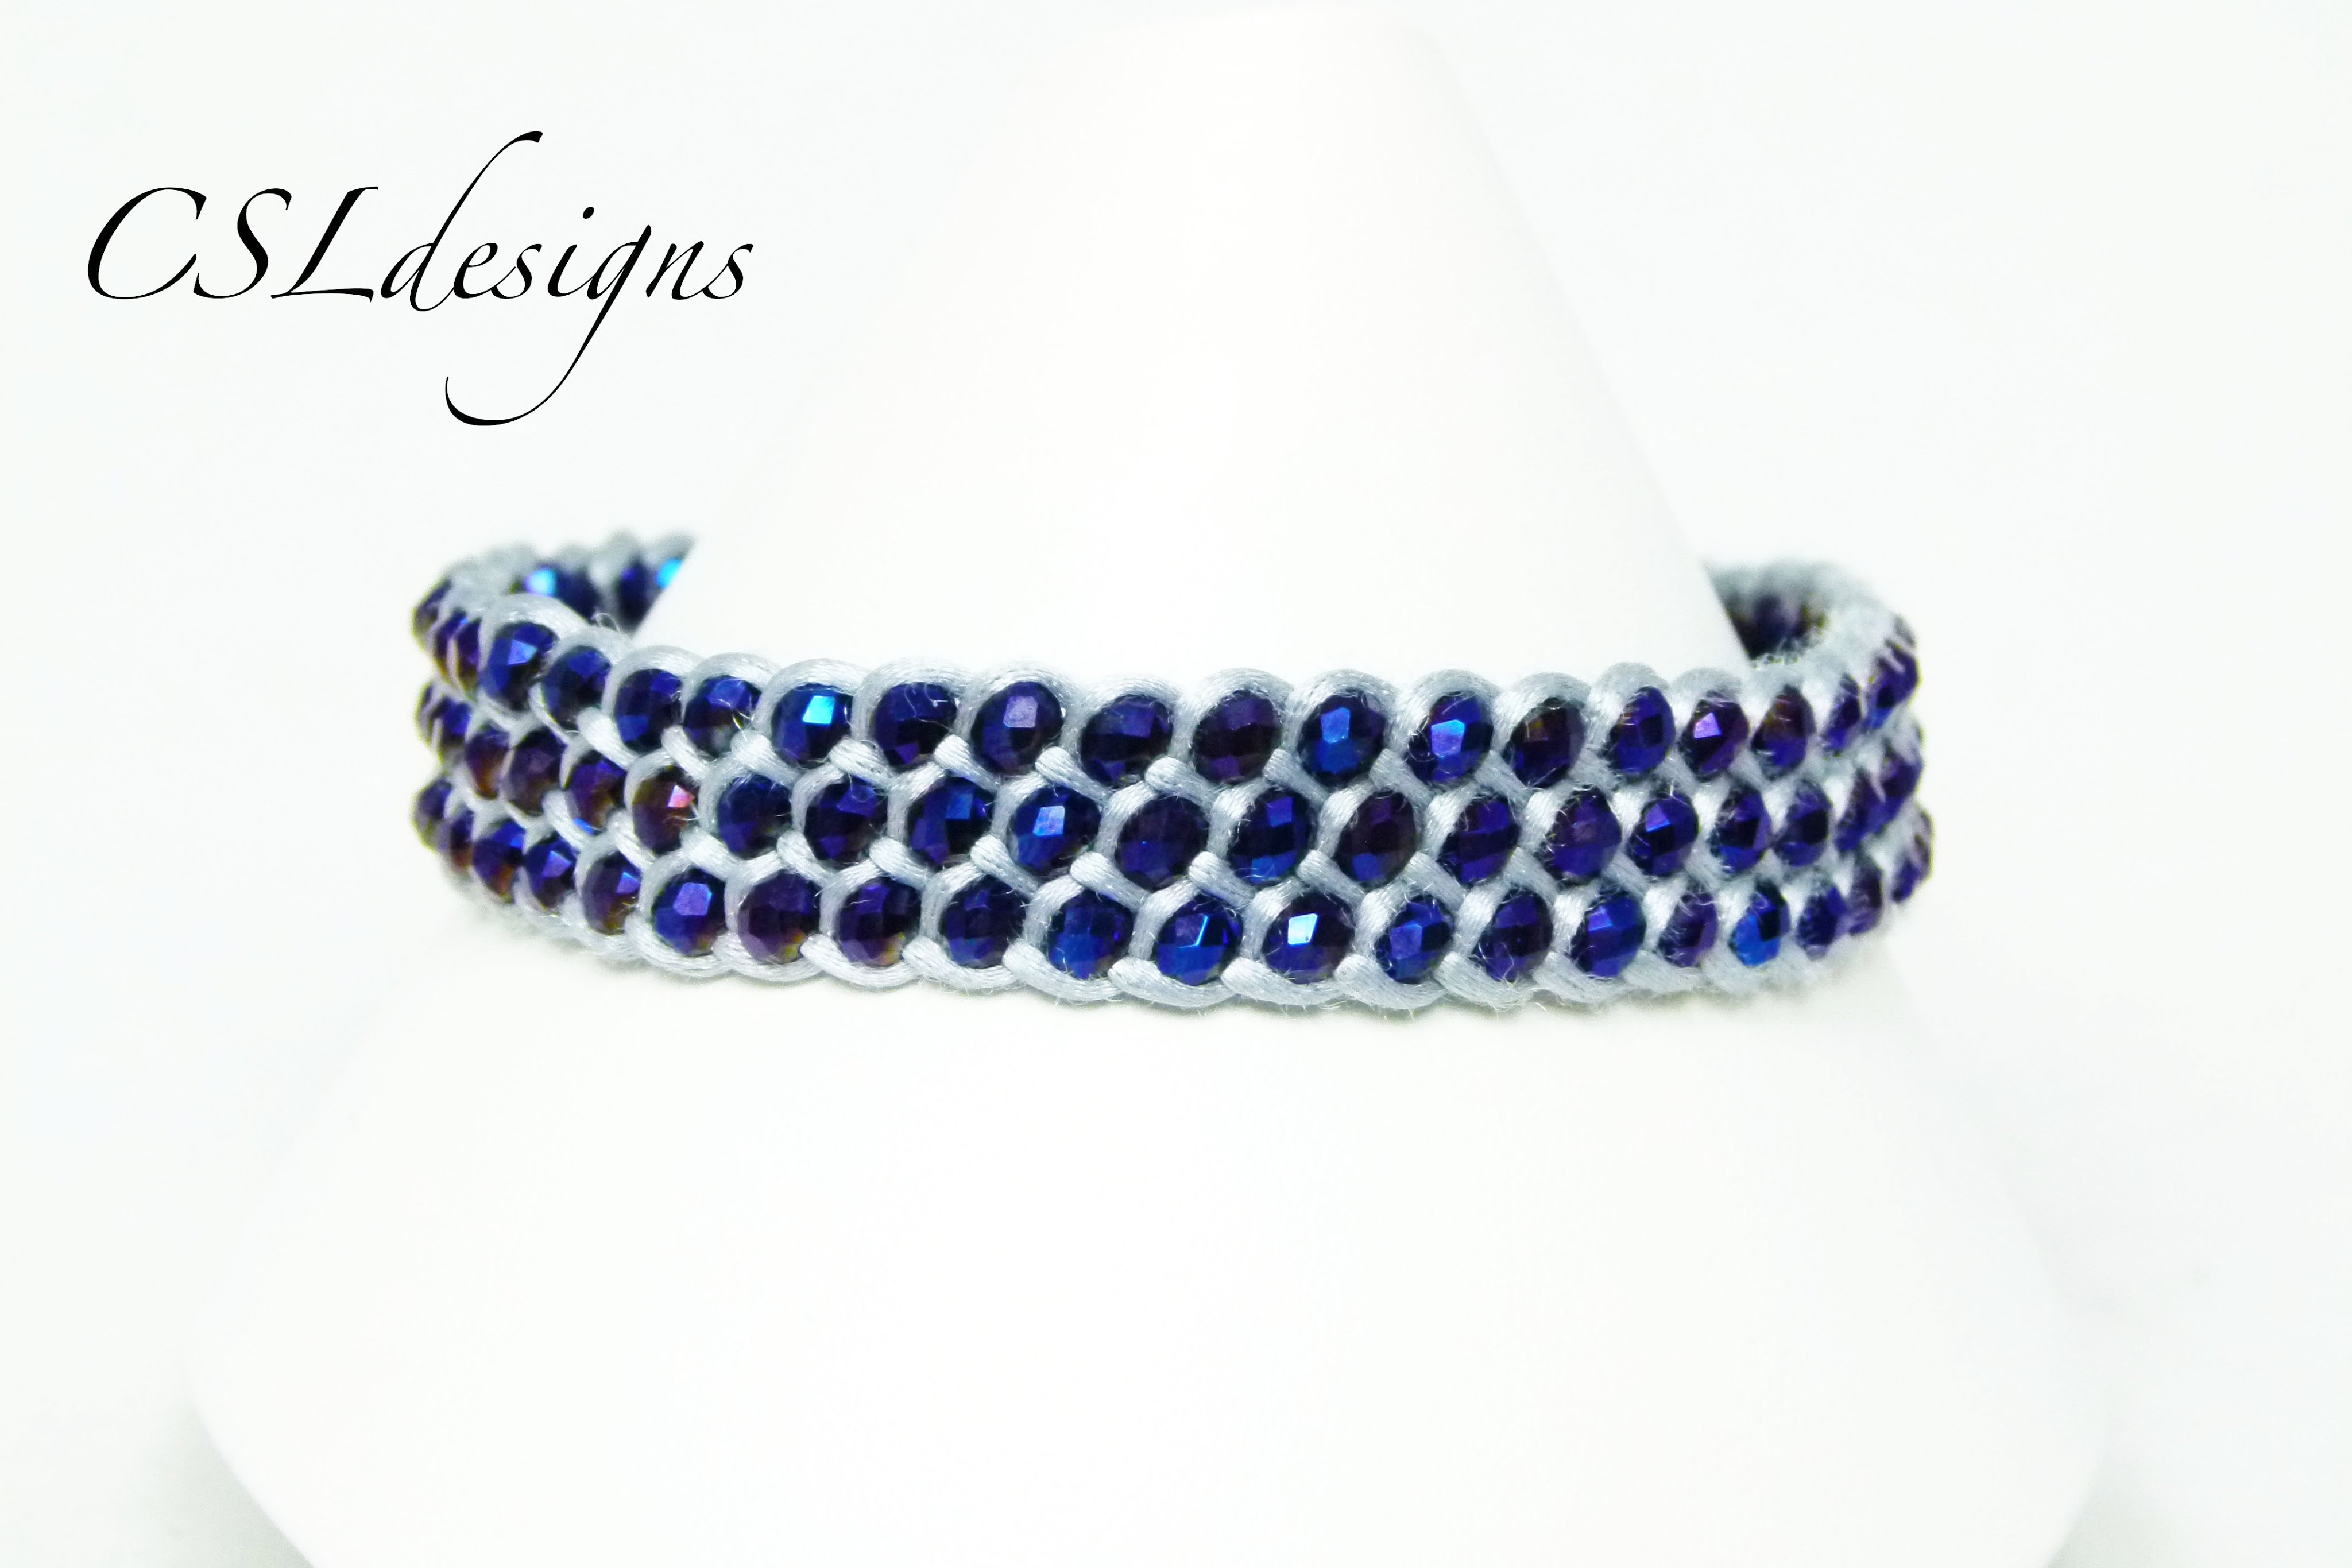
Fully beaded flat kumihimo braidThis tutorial shows how to make a fully beaded flat kumihimo braid. This is a seven-strand flat braid, and there are three beads used per row. This looks like it locks the beads in more easily than the 8-strand round braid that is the most commonly used braid. Materials: 1mm satin cord, 4 x 3mm rondelles with 1mm holes, 8mm ribbon ends. This uses a square kumihimo disk, but it should work using other platforms as well.2018-06-27 22:12:00
-
How to add beads to a flat kumihimo braidThis tutorial shows how to add beads to a flat kumihimo braid, on the sides of it. While this is demonstrated on a square kumihimo disk with the beads being added as you go, it could also be done on a marudai with pre-strung beads. The beads would have to be strung on every cord, and brought down when that cord is moved to the side position.2017-09-27 19:39:00
-
Beaded channel set flat kumihimo braidThis tutorial shows how to make channel set beaded flat kumihimo braid; that is, beads go down the centre like they're in a channel. This design isn't suited for a marudai, since the beads have to be strung on while the braid is being made. They can't be pre-strung, which means that the cord has to be not spooled, which means one can't use weighted spools, which means you can't do this on a marudai. But it's a nifty design; the beads are snug inside the braid.2017-09-27 19:16:00
-
How to make a kumihimo necklace using larger beadsA video tutorial demonstrating how to make a larger bead kumihimo necklace. The idea is to make the central section with the large focal beads using tigertail, making the crimped loop at the end large enough for four strands of (satin) cord to go through. Then you fold those in half, giving you eight strands to make a standard eight-strand round braid. Then do the same on the other side, and finish as one would any kumihimo braid. Thus you have a central section with the beads, framed by kumihimo braids on each side. Pretty nifty.2017-04-24 23:15:00
-
Inside beaded kumihimo braidThis tutorial shows how to make an inside beaded kumihimo braid. This is different from the standard beaded kumihimo braid, because the beads are framed by the cord ("inside" the braid) rather than hiding the cord ("outside" the braid).2017-02-09 04:10:00
-
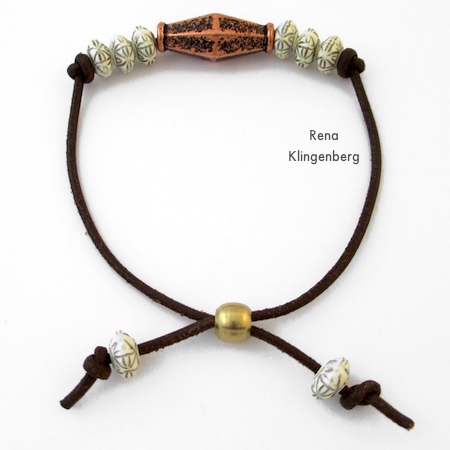
Adjustable Cord BraceletSimple bracelet tutorial; leather and beads. What is notable is the sliding adjustable part of it.2016-09-24 15:44:00
-
How to Make a Chinese Jade/Stone Bracelet with a Sliding ExtenderThis adjustable closure is basically a macrame flat-knot strip knotted around the main cords. I think it works because it's done with rattail or similar smooth cord, and synthetic so that it can be seared to seal it. Still worth noting.2016-04-01 08:21:00
-
Kumihimo Braid Over Cords And Big BeadsThe secret of this technique is glue. First, glue the bead to the cord so that it doesn't move, and secondly, when covering the second half of the bead, put glue on it first, so that the cords will stay flush on the bead instead of slipping.2016-02-27 18:38:00
-
Not So Golden Snitch NecklaceThe Snitch is not so golden because the yarn/thread used to crochet them is not golden.2016-01-24 15:35:00

