Search craftmarks
1677 records found. Page 46 of 84.
-
How to braid with four strandsHow to braid with four strands. This is one version of four-strand braiding (there's more than one "stitch" for a four-strand braid).2017-05-19 19:27:00
-
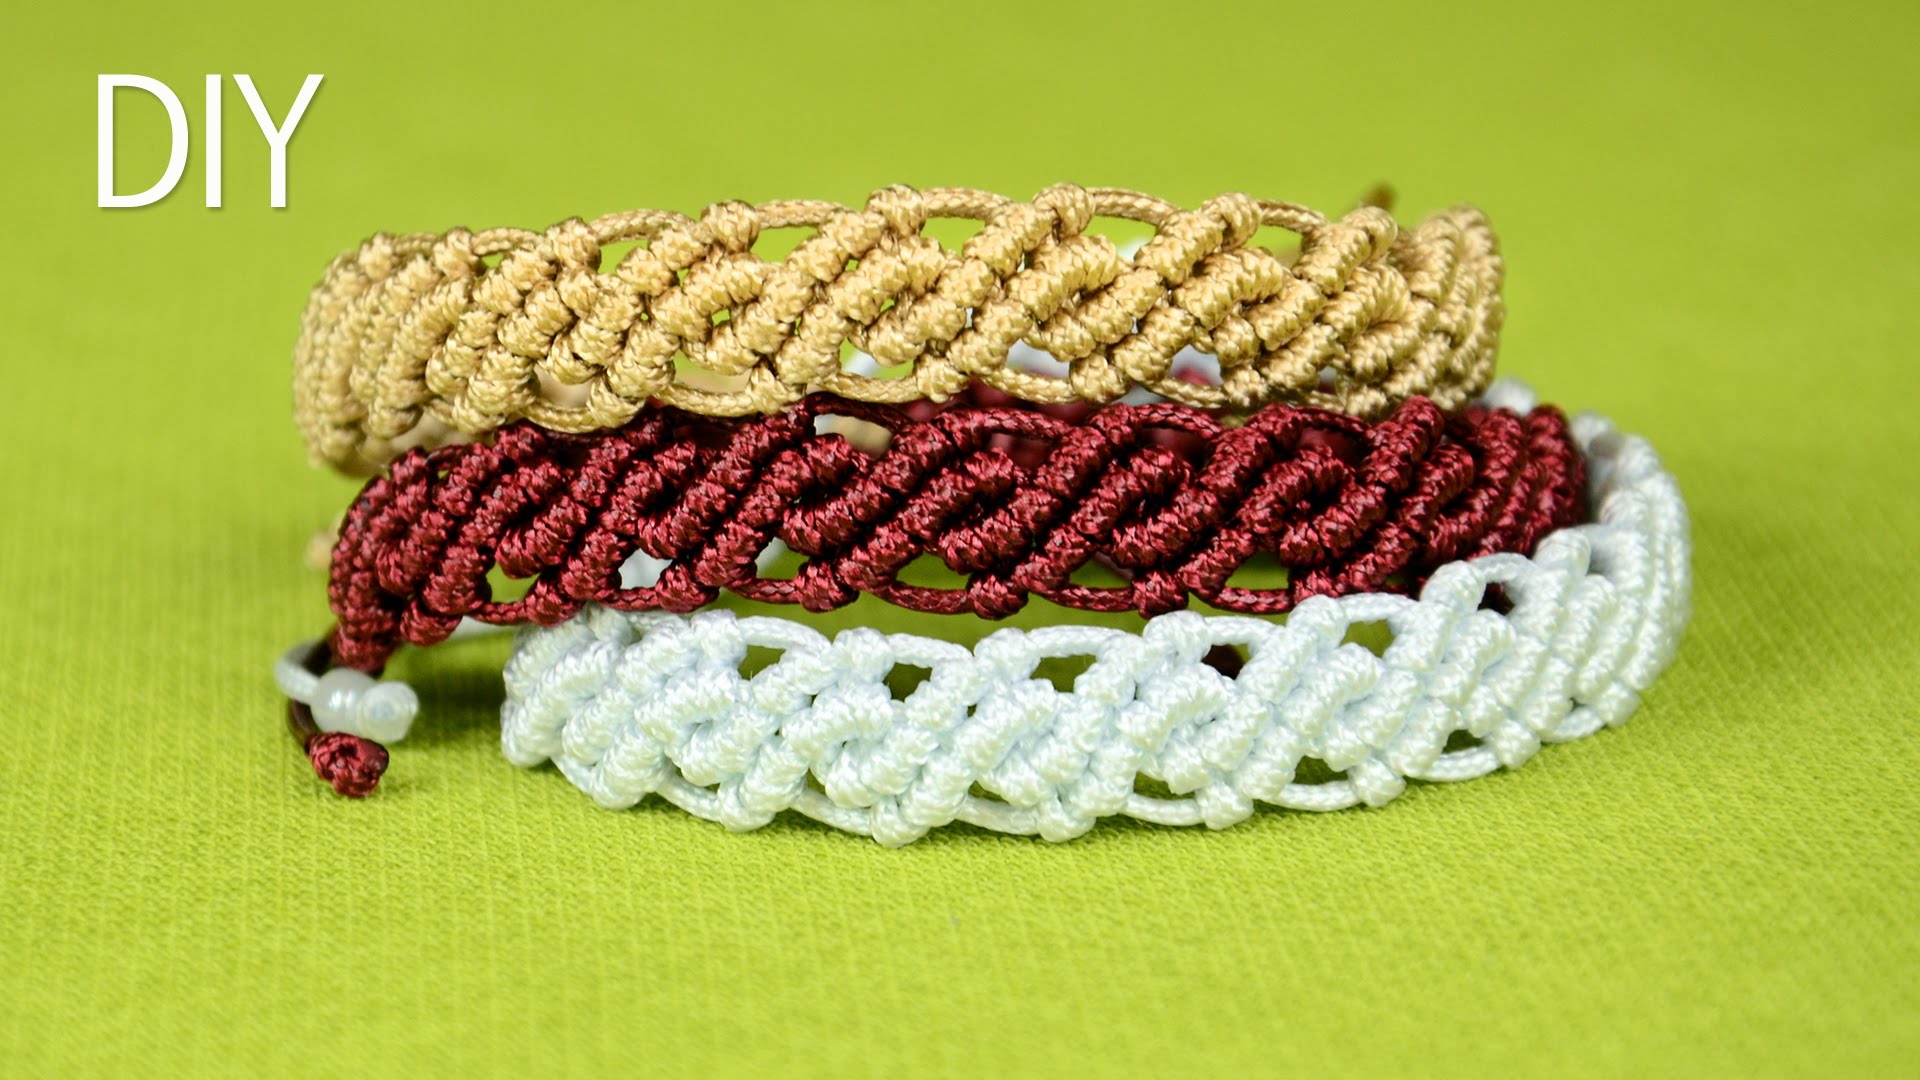
DIY Wavy Macrame BraceletsThis Tutorial shows how to make an easy wavy macrame bracelet. For a more interesting appearance you can also add beads.2017-05-16 22:39:00
-
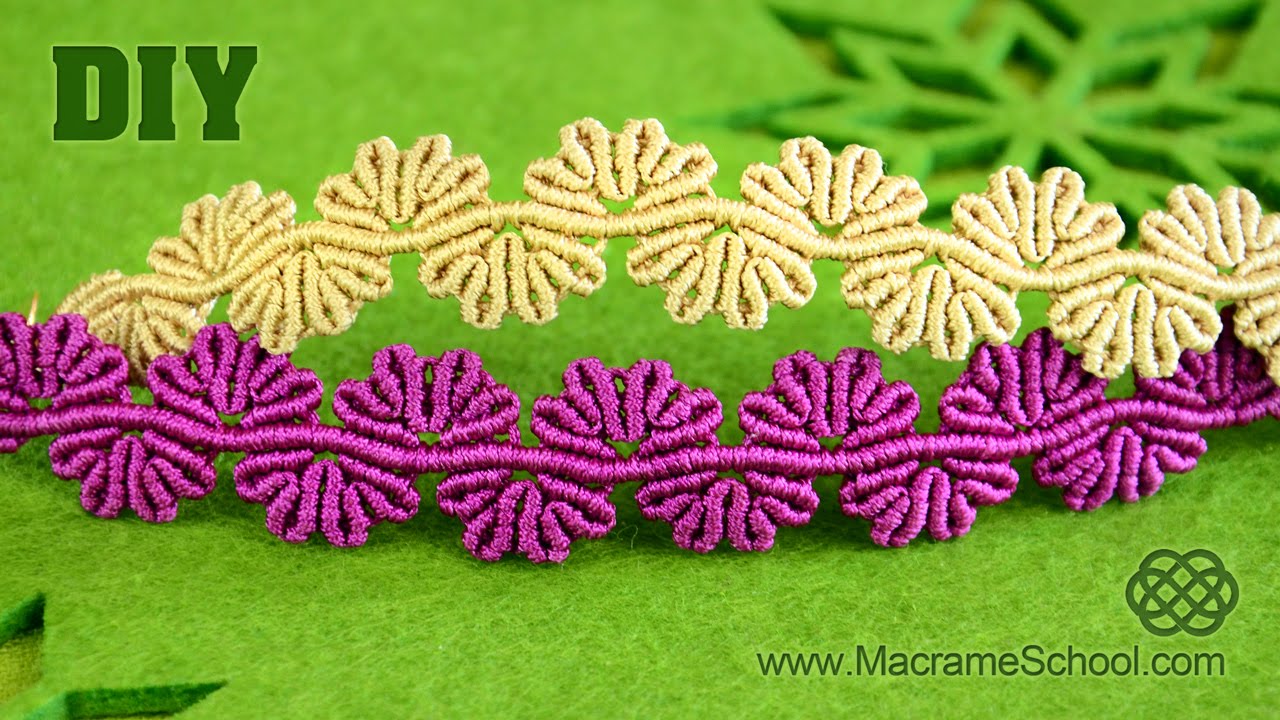
Wavy Flower Lace Bracelet - Macrame TutorialThis is a tutorial on how to make a Macrame flower lace bracelet.
To make this bracelet you will need: 0,5mm waxed polyester cord (or ~1mm nylon thread) 2 cords x 320cm / 126 inch 1 cord x 60cm / 24 inch (colors of your choice)2017-05-16 22:11:00 -
Double-Ended Tunisian WingspanPattern by Ryan Hollist. Yet another variation of the lovely _Wingspan_ shawl/scarf, this time with double-ended Tunisian crochet, thus done with two colours.2017-05-04 18:58:00
-
Criss Cross CowlPattern by Rochelle Johnson. Two-colour crochet pattern, making textured diamonds in one colour in front of the other colour. Done in the round, with the pattern on the outside, and all the messy colour changing stuff on the inside where it can't be seen.2017-05-04 18:28:00
-
How to make a Hardcover Book Necklace PendantTutorial for making a tiny book pendant for a necklace.2017-04-25 02:34:00
-
How To Make a Beaded Zip Tie Necklace DIYThe author describes the necklace as "amazingly colorful, stylish couture necklace" but I don't think so. Plastic beads are plastic beads. However, I do like the idea of making links with zip-ties strung with (glass) beads. It has interesting chain-maille-ish potential, if one could do a maille weave that was more than the usual 2-in-1 chain.2017-04-25 02:20:00
-
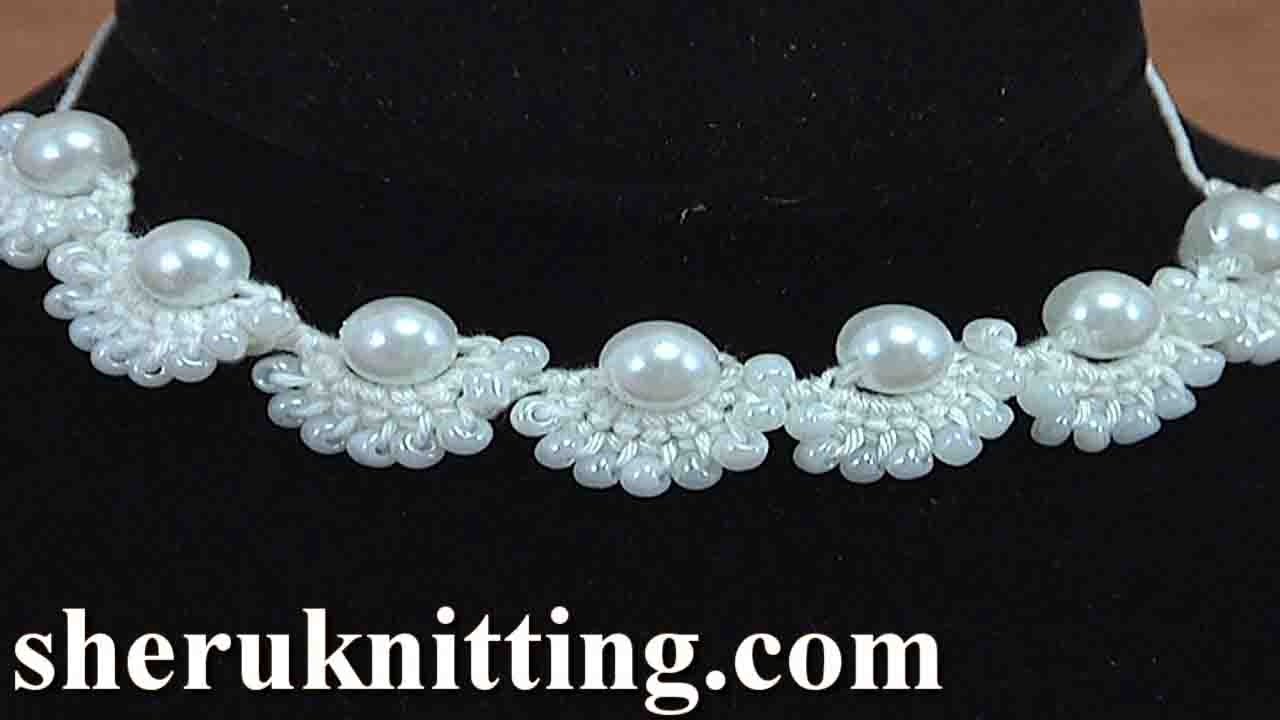
How to Make Crochet Beaded Necklace Tutorial 135This video instruction teaches how to make a beautiful cord with beads; large beads and small beads, making a shell-like edge.2017-04-25 02:13:00
-
How to make a kumihimo necklace using larger beadsA video tutorial demonstrating how to make a larger bead kumihimo necklace. The idea is to make the central section with the large focal beads using tigertail, making the crimped loop at the end large enough for four strands of (satin) cord to go through. Then you fold those in half, giving you eight strands to make a standard eight-strand round braid. Then do the same on the other side, and finish as one would any kumihimo braid. Thus you have a central section with the beads, framed by kumihimo braids on each side. Pretty nifty.2017-04-24 23:15:00
-
Perfect Wire Wrapped Loops with this neat trick Part 1This video shows how to make perfect and professional wrapped wire loops, even for the absolute beginner. It shows a neat trick which helps avoid the gap in the first wrap.2017-03-29 09:55:00
-
Craft Design OnlineThis has multiple online programs that help you design various Kumihimo braids - not just the standard 8-strand round, but other ones too. Not only that, but it provides instruction diagrams for both disk and marudai!2017-03-29 07:33:00
-
How to end your kumihimo using the wired methodA video tutorial demonstrating how to end your kumihimo braided jewellery using a wired method. With this method, you don't bind the end of the braid with wire, you bind it with (thread and) glue. Then you push the wire through the braid and twist it together, and then hide all that unsightly stuff with a cap or cone finding.2017-03-27 14:19:00
-
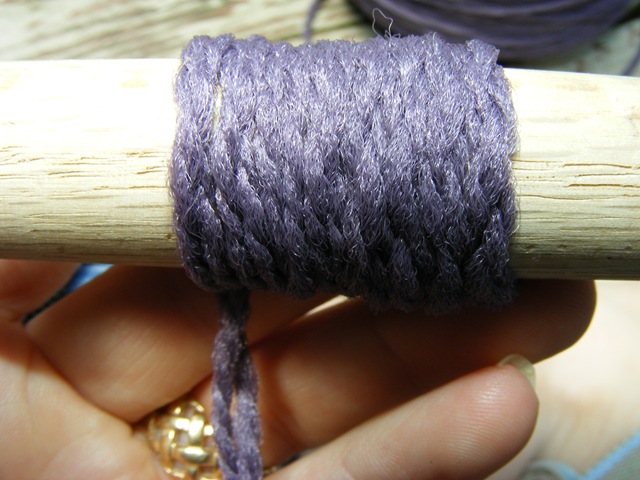
Figuring out the weight/gauge of "mystery" yarn!Useful how-to on figuring out mystery yarn, by using wraps-per-inch (and how to avoid some pitfalls!)2017-03-26 12:19:00
-
One Skein Infinity Cowl pattern by Mandy JoThe pattern uses one skein of yarn, but can be easily adjusted to make a larger cowl, though making it longer would require another skein. This is a very simple pattern, easy to follow. The most challenging part is connecting the first row together.2017-03-01 10:09:00
-
One Skein Cowl pattern by Little DoolallyOnly one 100g skein is required to make this quick and easy cowl. Pattern also includes photos to guide you through making it.2017-03-01 09:58:00
-
Twisted kumihimo braidThis tutorial shows how to do the twisted kumihimo braid. This is a 12-strand braid, and the length of your cords need to be roughly three times the length you want your final piece to be; but the cords on the sides will need to be more like four times the length, as they will get used up quicker.2017-02-10 05:56:00
-
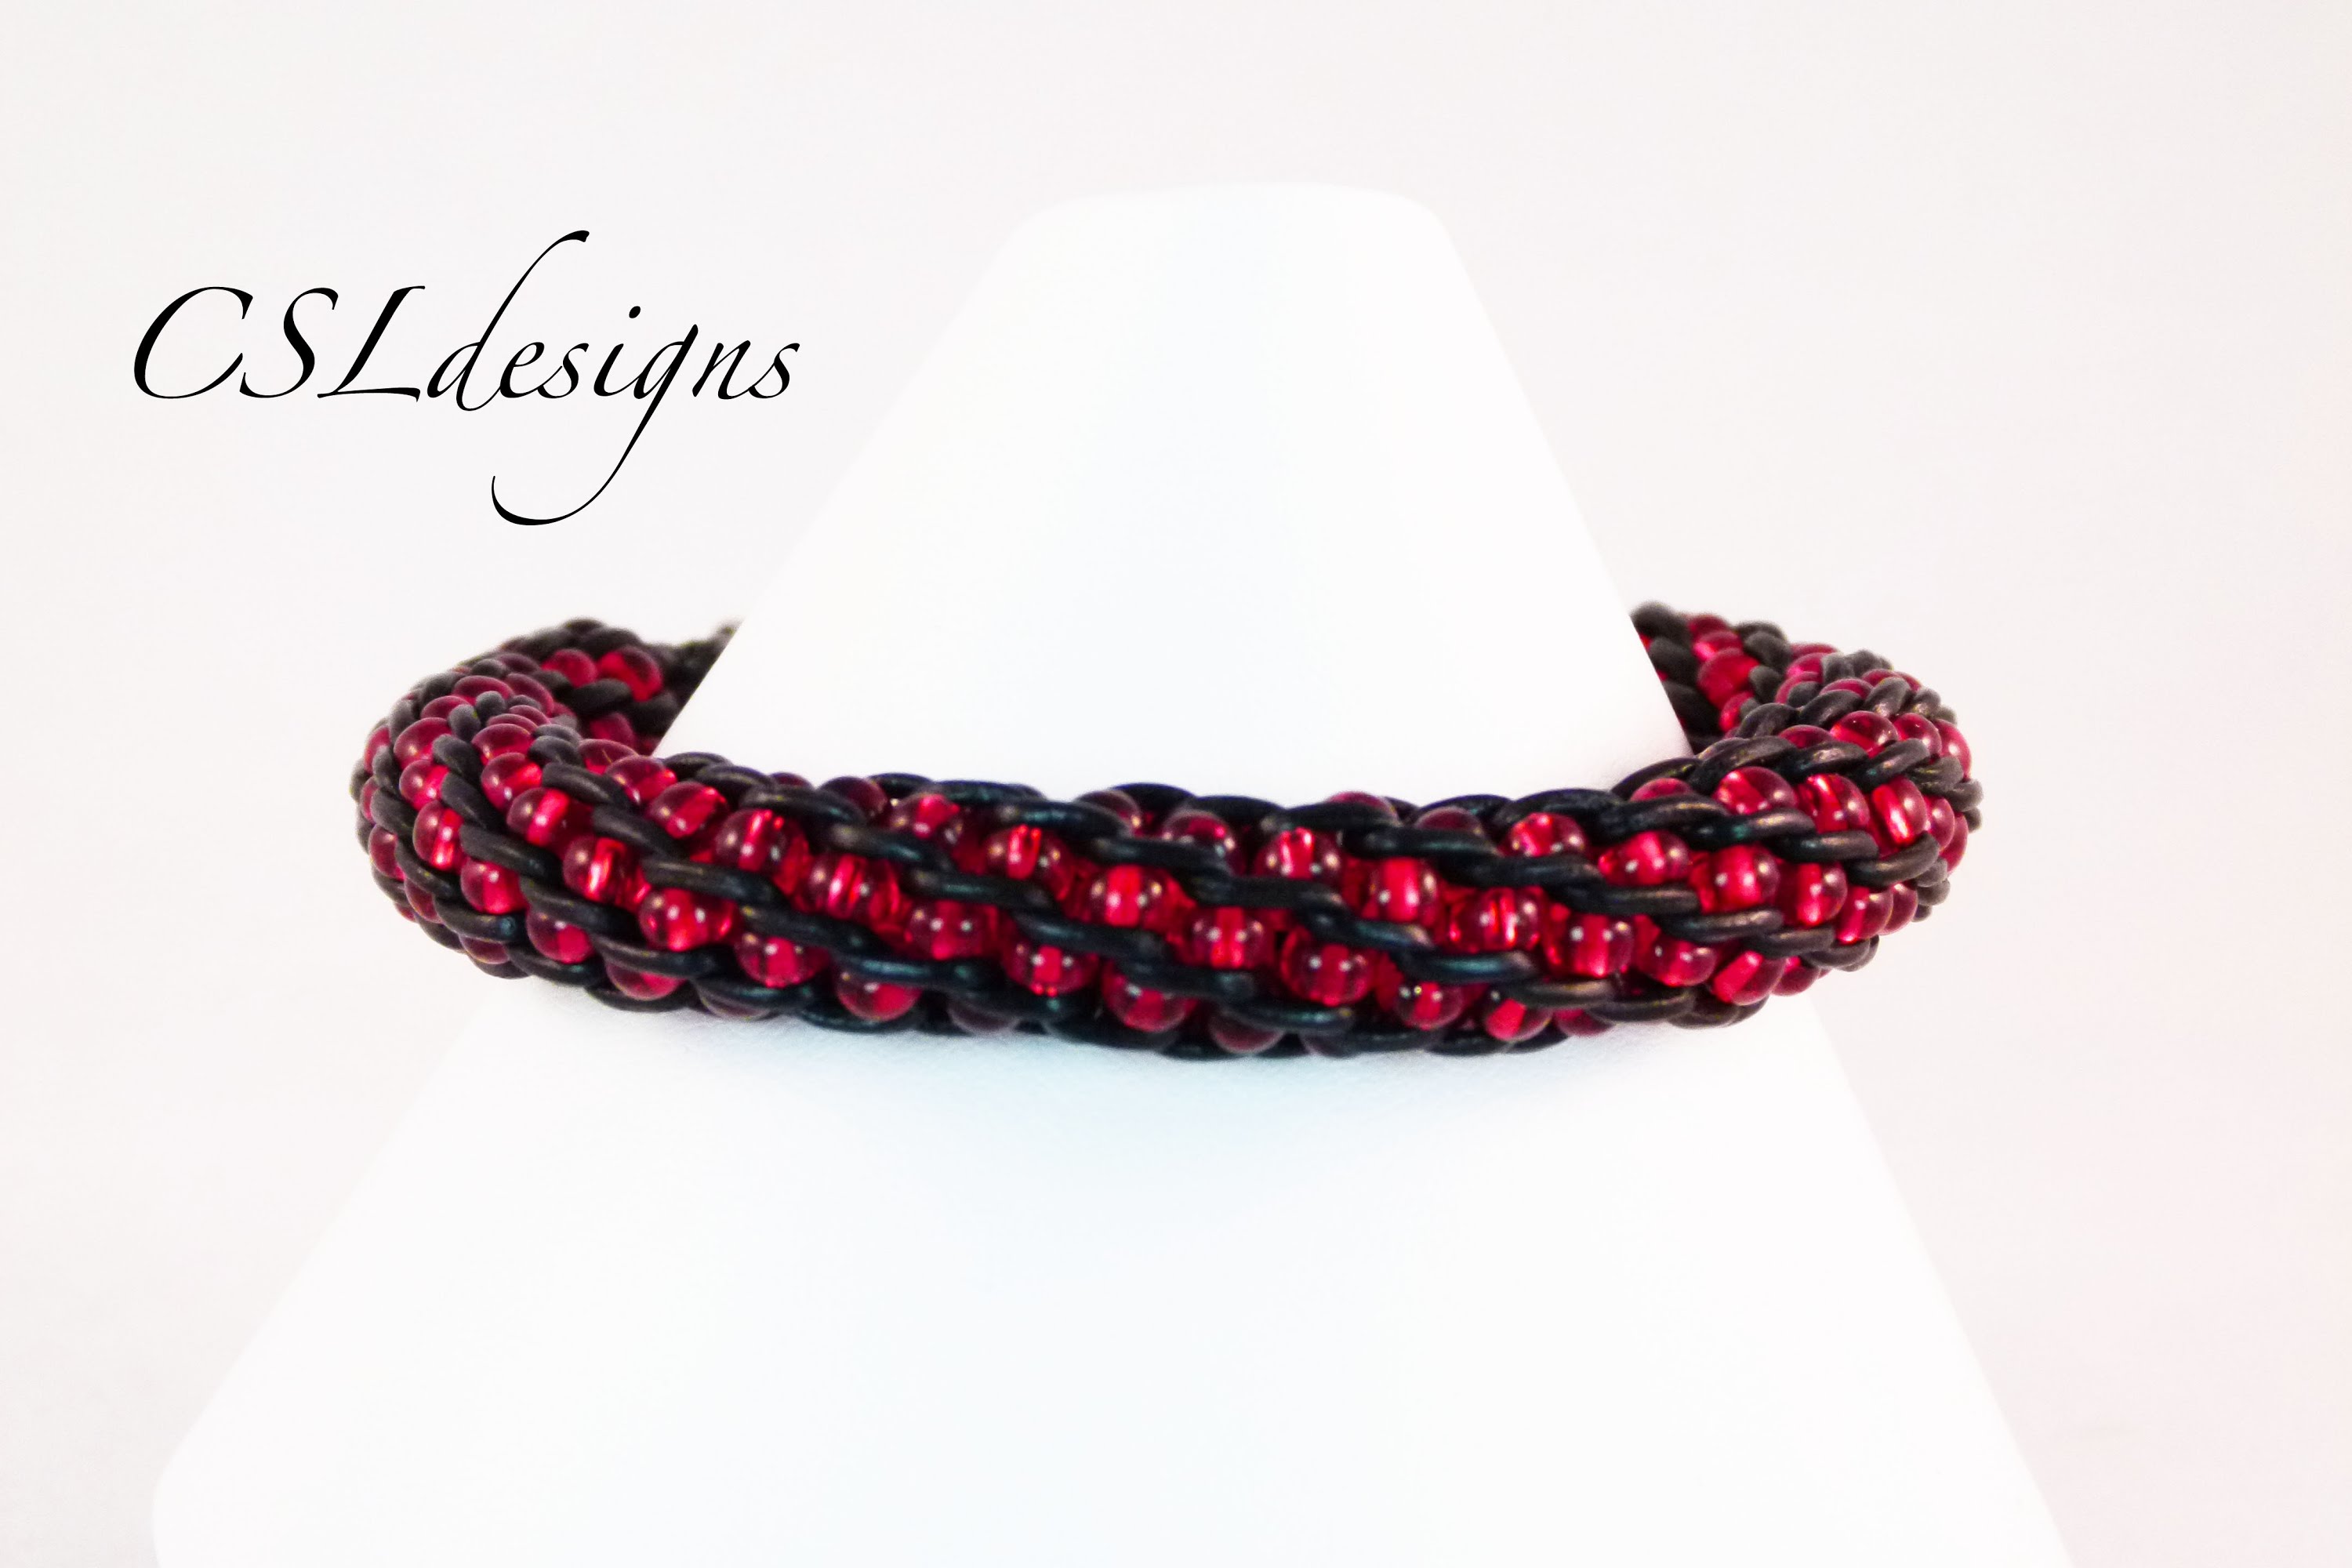
Inside beaded kumihimo braidThis tutorial shows how to make an inside beaded kumihimo braid. This is different from the standard beaded kumihimo braid, because the beads are framed by the cord ("inside" the braid) rather than hiding the cord ("outside" the braid).2017-02-09 04:10:00
-
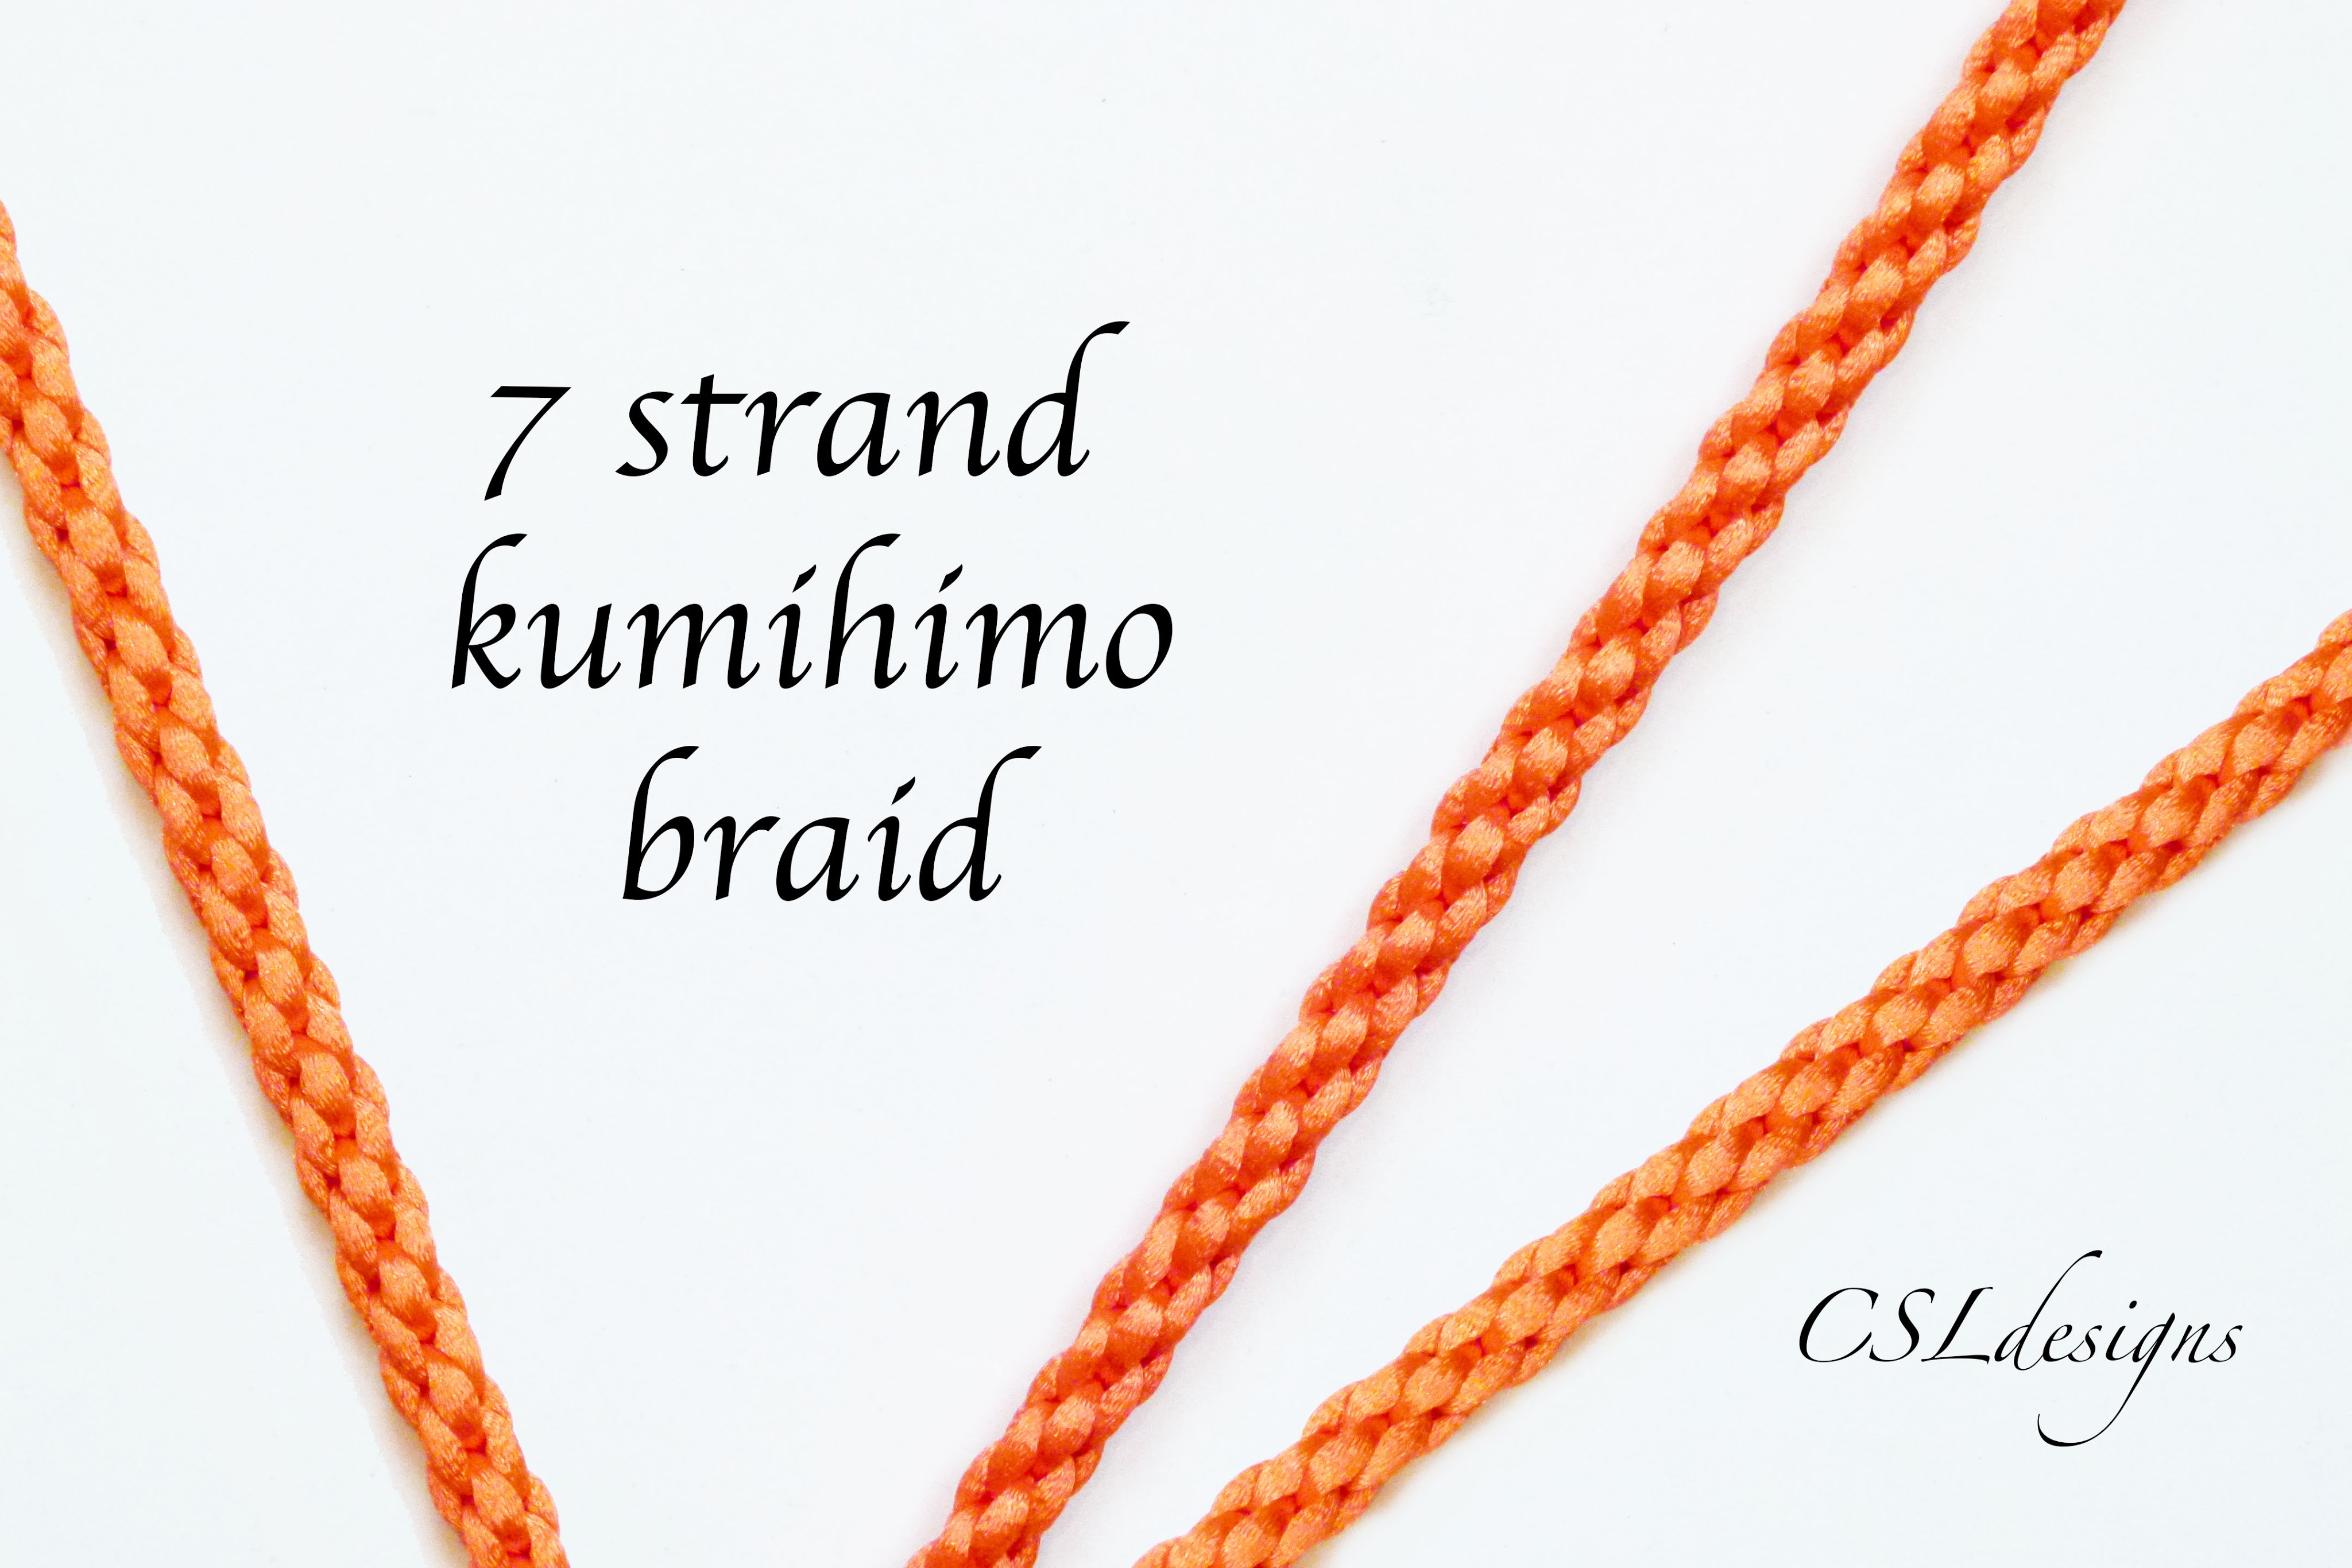
7 strand kumihimo braidThis tutorial shows you how to make a 7 strand kumihimo braid. This has an interesting structure compared to the usual 8-strand braid.2017-02-09 03:47:00
-
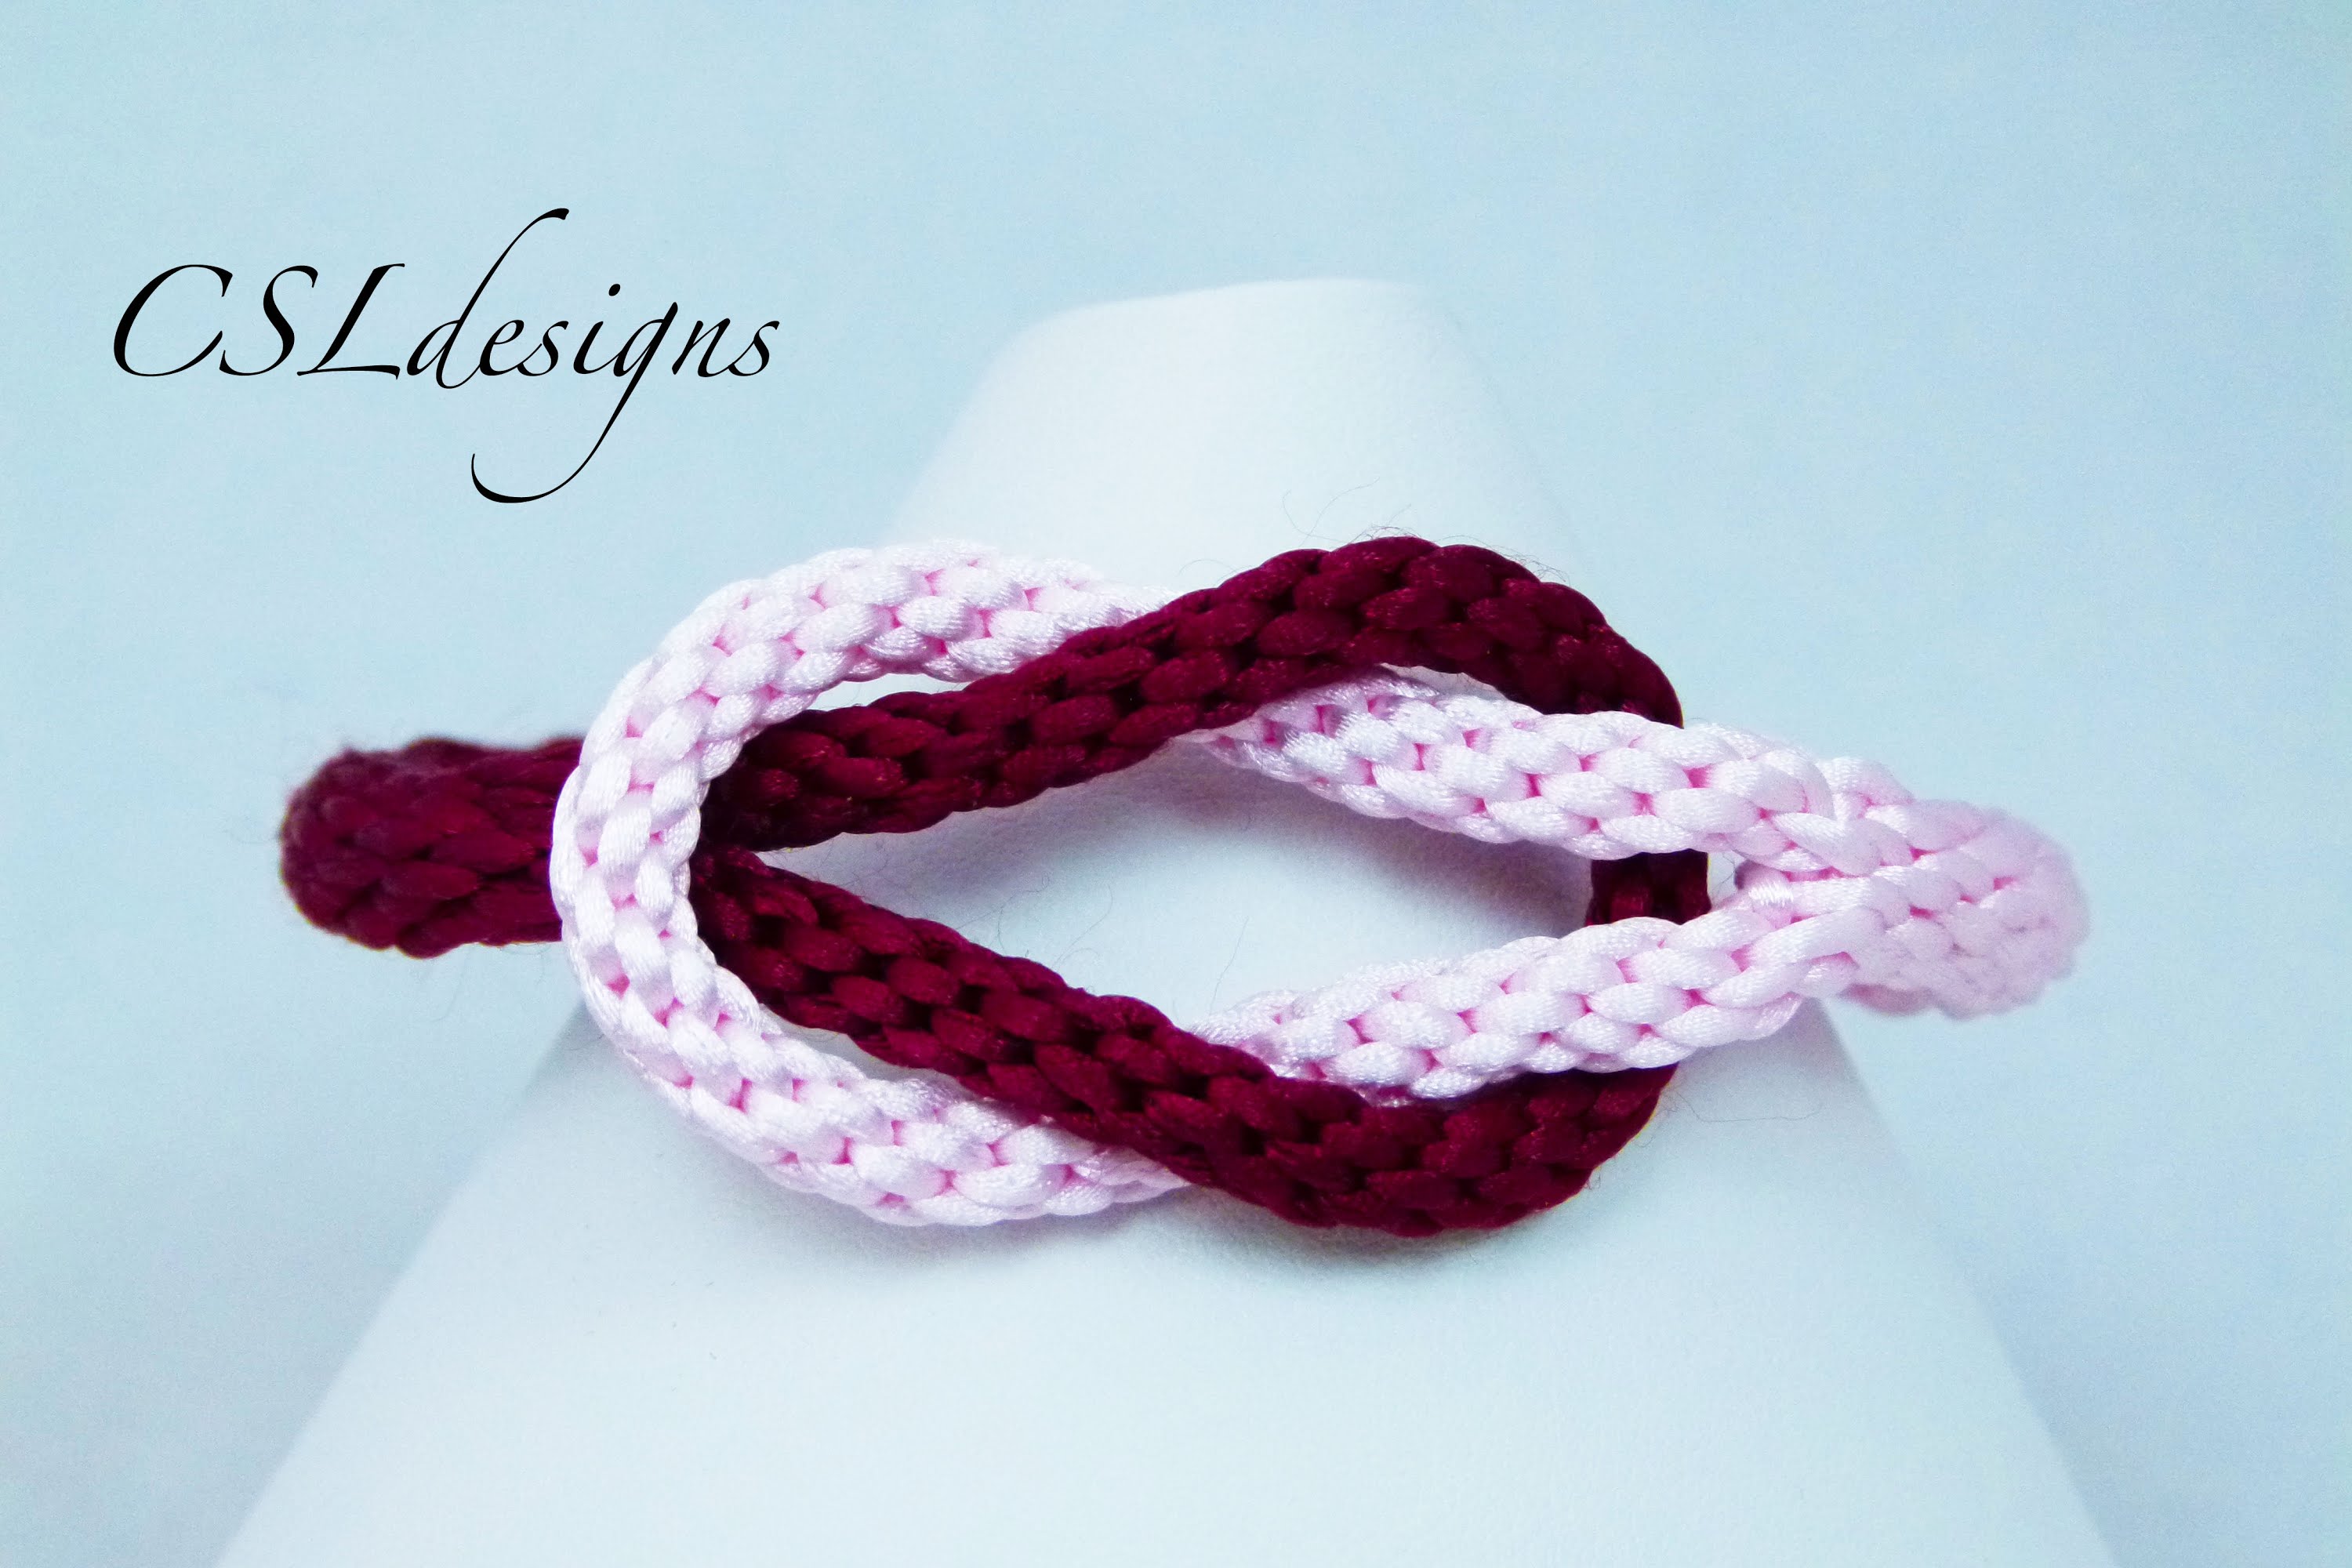
Infinity kumihimo braceletThis tutorial shows you how to make an "infinity" kumihimo bracelet. (Me, I wouldn't call it Infinity, it's more like a square knot). The idea is to make a seamless loop by making a section of 8-strand braid, and then taking both ends of that together to make a 16-strand braid. Then one does that again, for the other half of the bracelet, then pull the loops together to make a square-knot-like centrepiece for the bracelet. Very cool!2017-02-08 21:59:00
-
Basic beaded kumihimo braidThis tutorial shows how to make a basic beaded kumihimo braid. She makes it look easy!2017-02-08 13:00:00

