Search craftmarks
1377 records found. Page 43 of 69.
-
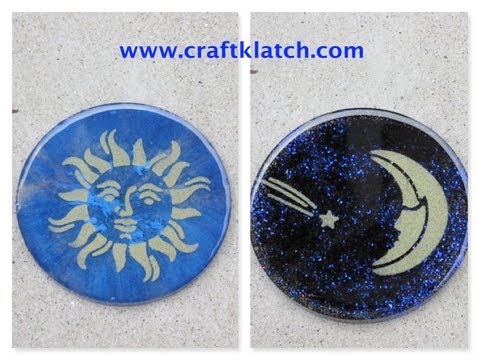 Sun and Moon Stenciled Resin Coasters Another Coaster FridayThis shows how to stencil on resin. The idea is to make one layer of resin, take it out of the mould, stencil on it, put it back in the mould, and pour another layer of resin on it. So the mould needs to be very simple.2017-01-08 11:28:00
 -
 How to Make a Snail Charm Craft TutorialThis tutorial shows how to make a little charm using epoxy clay, mica powder, and a stamp. One could probably use other types of clay, such as polymer clay or air-dry clay, though the effect might not be quite the same.2017-01-07 22:49:00
 -
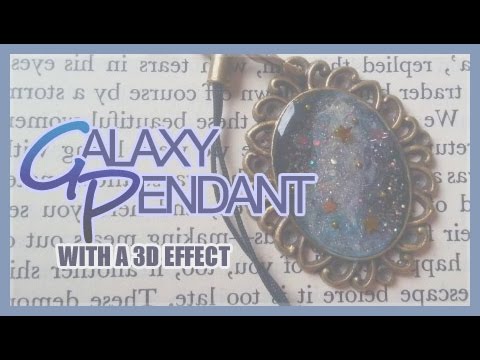 Resin Tutorial 3D-looking Galaxy PendantCreate a galaxy effect pendant tutorial. This one makes the galaxy background with white acrylic paint and (sparkly) black/blue/purple/clear nailpolish painted into a bezel. The 3D effect is done by layering glitter and stars and microbeads on top, and doming it all with (UV?) resin and adding a few more glitter-stars into that.2016-12-25 09:57:00
 -
 Resin Jewelry Tutorial: Using Pebeo Paints - Mixed MediaThis tutorial shows how to make simple charms with resin and Pebeo paints. These paints create beautiful abstract and unique designs. Paints used in this video were:
Pebeo Prisme Fantasy Pebeo Moon Fantasy Pebeo Vitrail Glass.
The usefulness of this technique depends entirely on whether one can or cannot get hold of these Pebeo paints, alas.2016-12-25 09:01:00 -
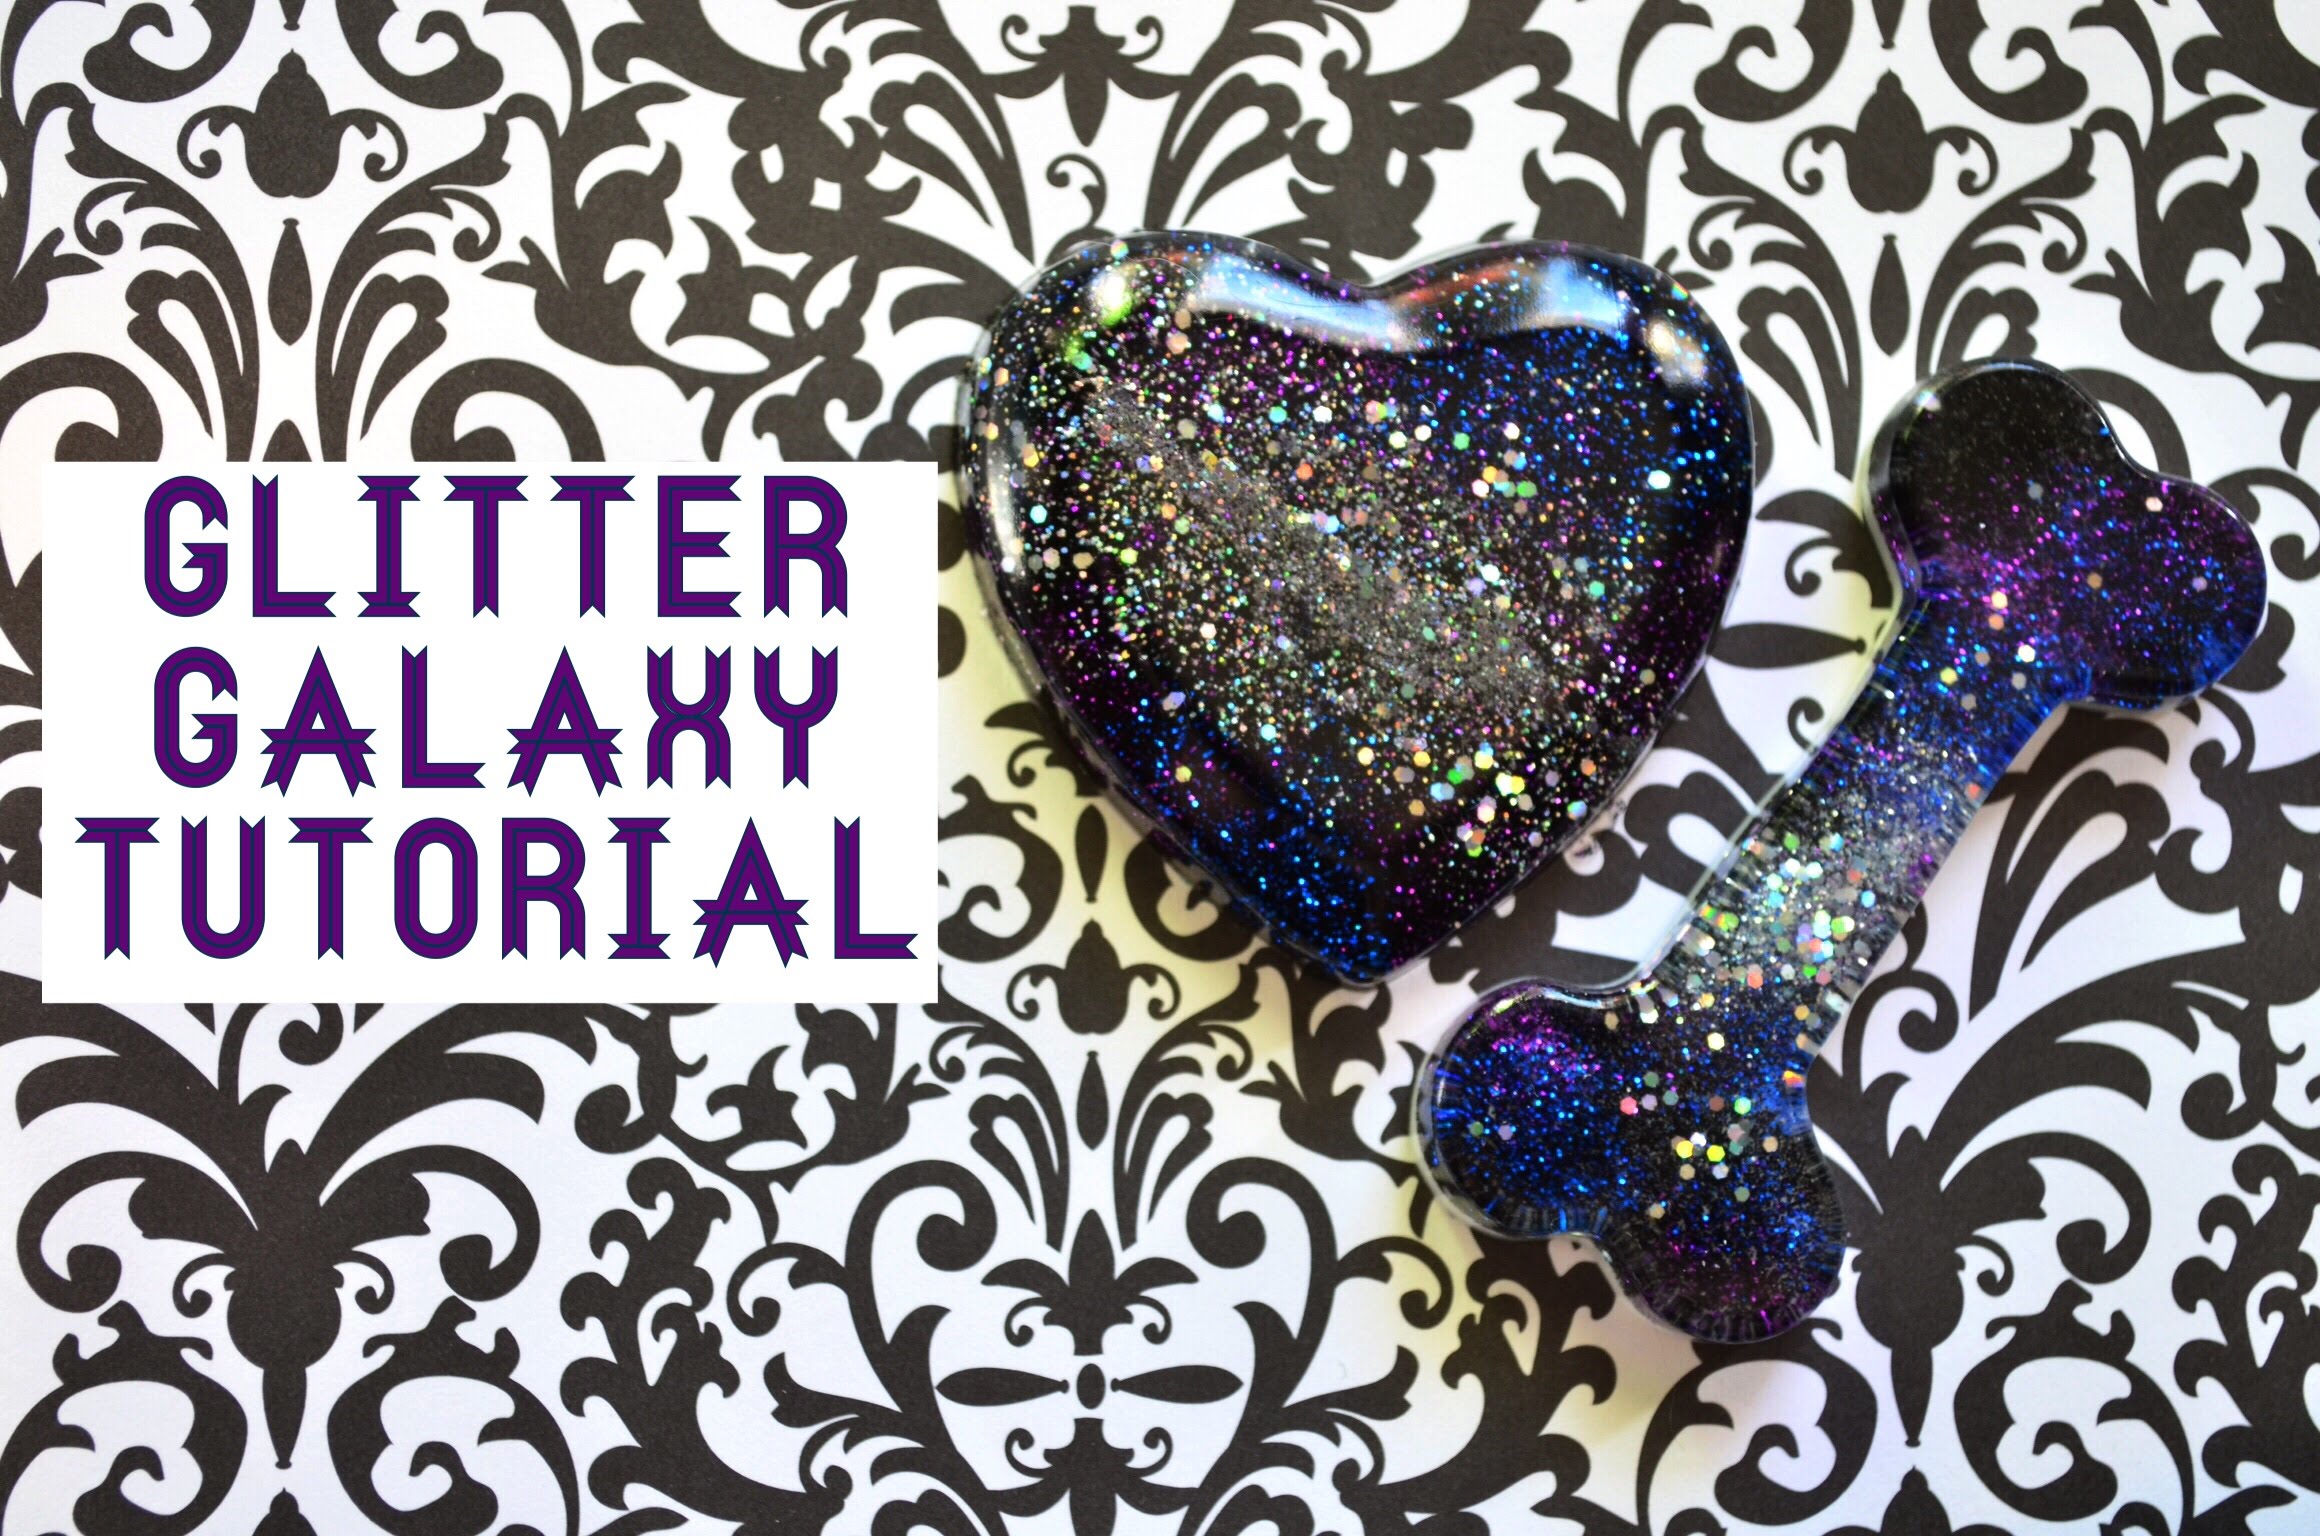 Resin Tutorial: Glitter GalaxiesTutorial for glittery galactic clouds in your resin piece. Holographic glitter + dark shades of glitter + black glitter. This could probably be done with mica powder too.2016-12-23 22:36:00
 -
 Faux Moss Agate with Clare HornerHow to cast and create a faux moss agate stone for use in jewelry or mixed media projects. The secret is using actual moss! It is called "Reindeer moss" or "lichen" and is used for faux trees and bushes in model railways.2016-12-22 23:19:00
 -
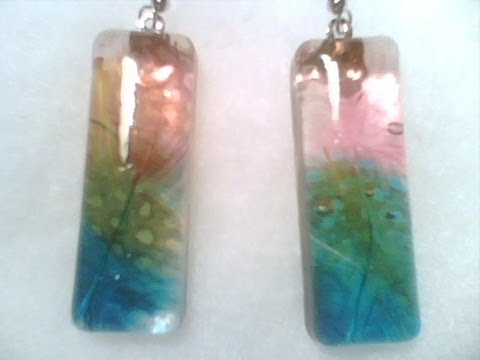 Resin Feather Earrings Tutorial (requested by "jodom103110")How to embed feathers in resin. Make sure that the feather(s) are smaller than the size of the mould, and smoosh them around to make sure they are fully embedded and placed the way you want them to be.2016-12-22 13:49:00
 -
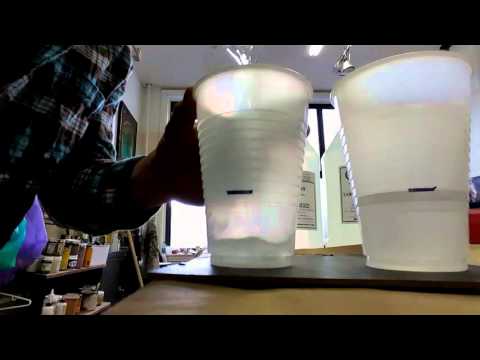 Resin tipsHow to make your own disposable measuring-mixing cups for resin. If one is using a resin which is mixed in a ratio 1:1 by volume, this method works to make a measuring cup which holds two equal volumes (and can then be used for mixing the resin). Take two disposable plastic cups, water, and a permanent marker. Pour a volume of water into one cup, mark the level. Pour that water into the second cup, mark that level. Pour another lot of water into the first cup, to the level you marked. Then pour the second lot of water into the second cup, and mark the new level (then pour all that water into the first cup, and mark that level). Now each cup will have two marks on them, each marking an equal volume. If one is CAREFUL, then one can use this to both measure and mix the resin, by pouring in the first part and then the second. The risk is that one may accidentally pour in too much of one or the other, and then have no way to correct it. On the other hand, this method has the advantage that one isn't losing any resin or hardener due to them clinging to the sides of the measuring cups, so it's a trade-off.
One could probably do something similar for 2:1 ratios, using this method to mark three equal volumes on a cup, and then fill the resin to the second level, and the hardener to the third level.2016-12-19 14:20:00 -
 Cold Casting your 3D PrintsIn this video Paul Braddock covers how to Cold Cast a 3D Printed design. Printing, making a silicone mould from the print, doing the cold-casting with metal powder and resin, and then adding a patina and finishing.
Notable because the presenter and the materials are Australian.2016-12-17 18:44:00 -
 How To Cold Cast TutorialThis shows what cold casting is and this shows how it is done by casting up a copy of a cortana data chip replica from halo 4.
How to cold cast- this uses a polyurethane resin (but other resins will work too) and mixes it with metal powders. This technique is called cold casting, as it gives you the appearance of a metal cast piece but there was no melting involved, hence cold casting. This video shows the 4 main steps involved in cold casting which are:
Prepping the mold with metal powder casting into the mould with plastic weathering the cold cast piece polishing with steel wool
At the end of the process you have a cold cast piece that looks like real metal... because it has real metal in it!2016-12-17 06:56:00 -
 ICE Resin Casting From a Rubber StampSquare (or rectangular) rubber stamp + painter's tape + resin = interesting textured plate! The depth of the texture depends on the depth of the stamp. Also only works with rubber or silicone stamps; the transparent ones get stuck to the resin.2016-12-16 08:04:00
 -
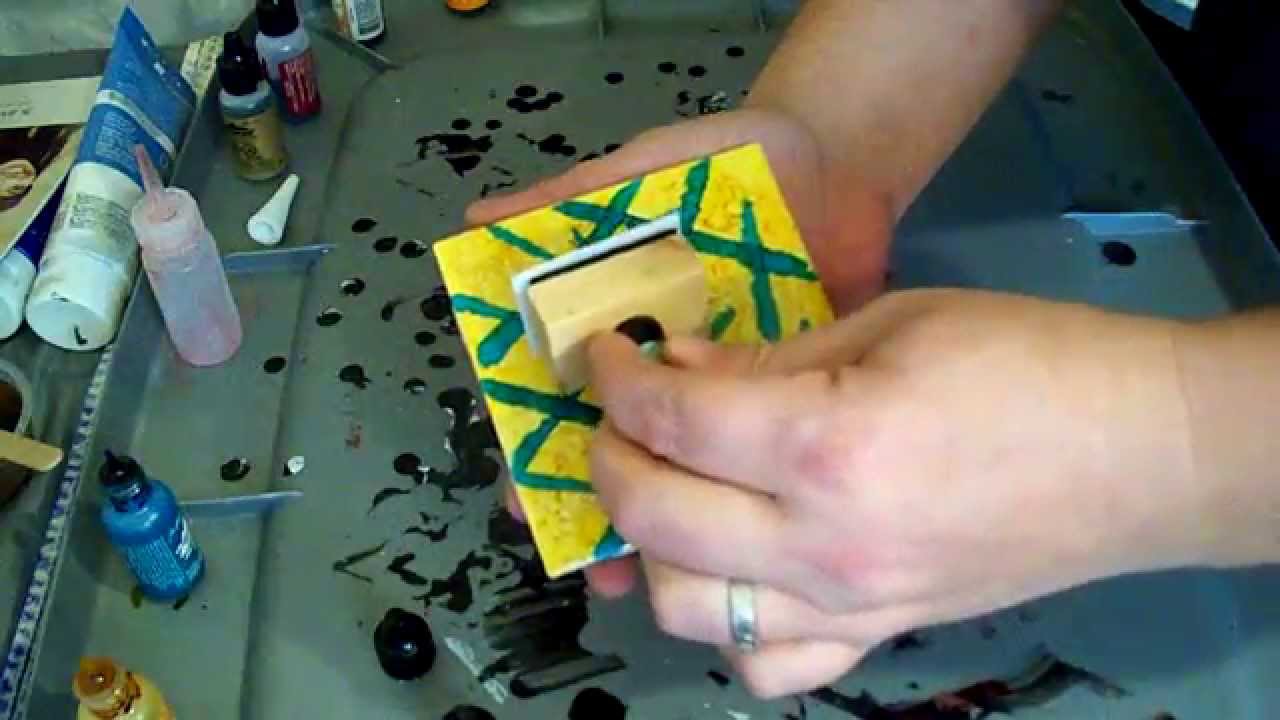 Alcohol Ink Tutorial: Rod StampingShort simple tutorial on how to stamp "rods" or lines onto tiles with the Tim Holtz ink applicator.2016-12-14 19:00:00
 -
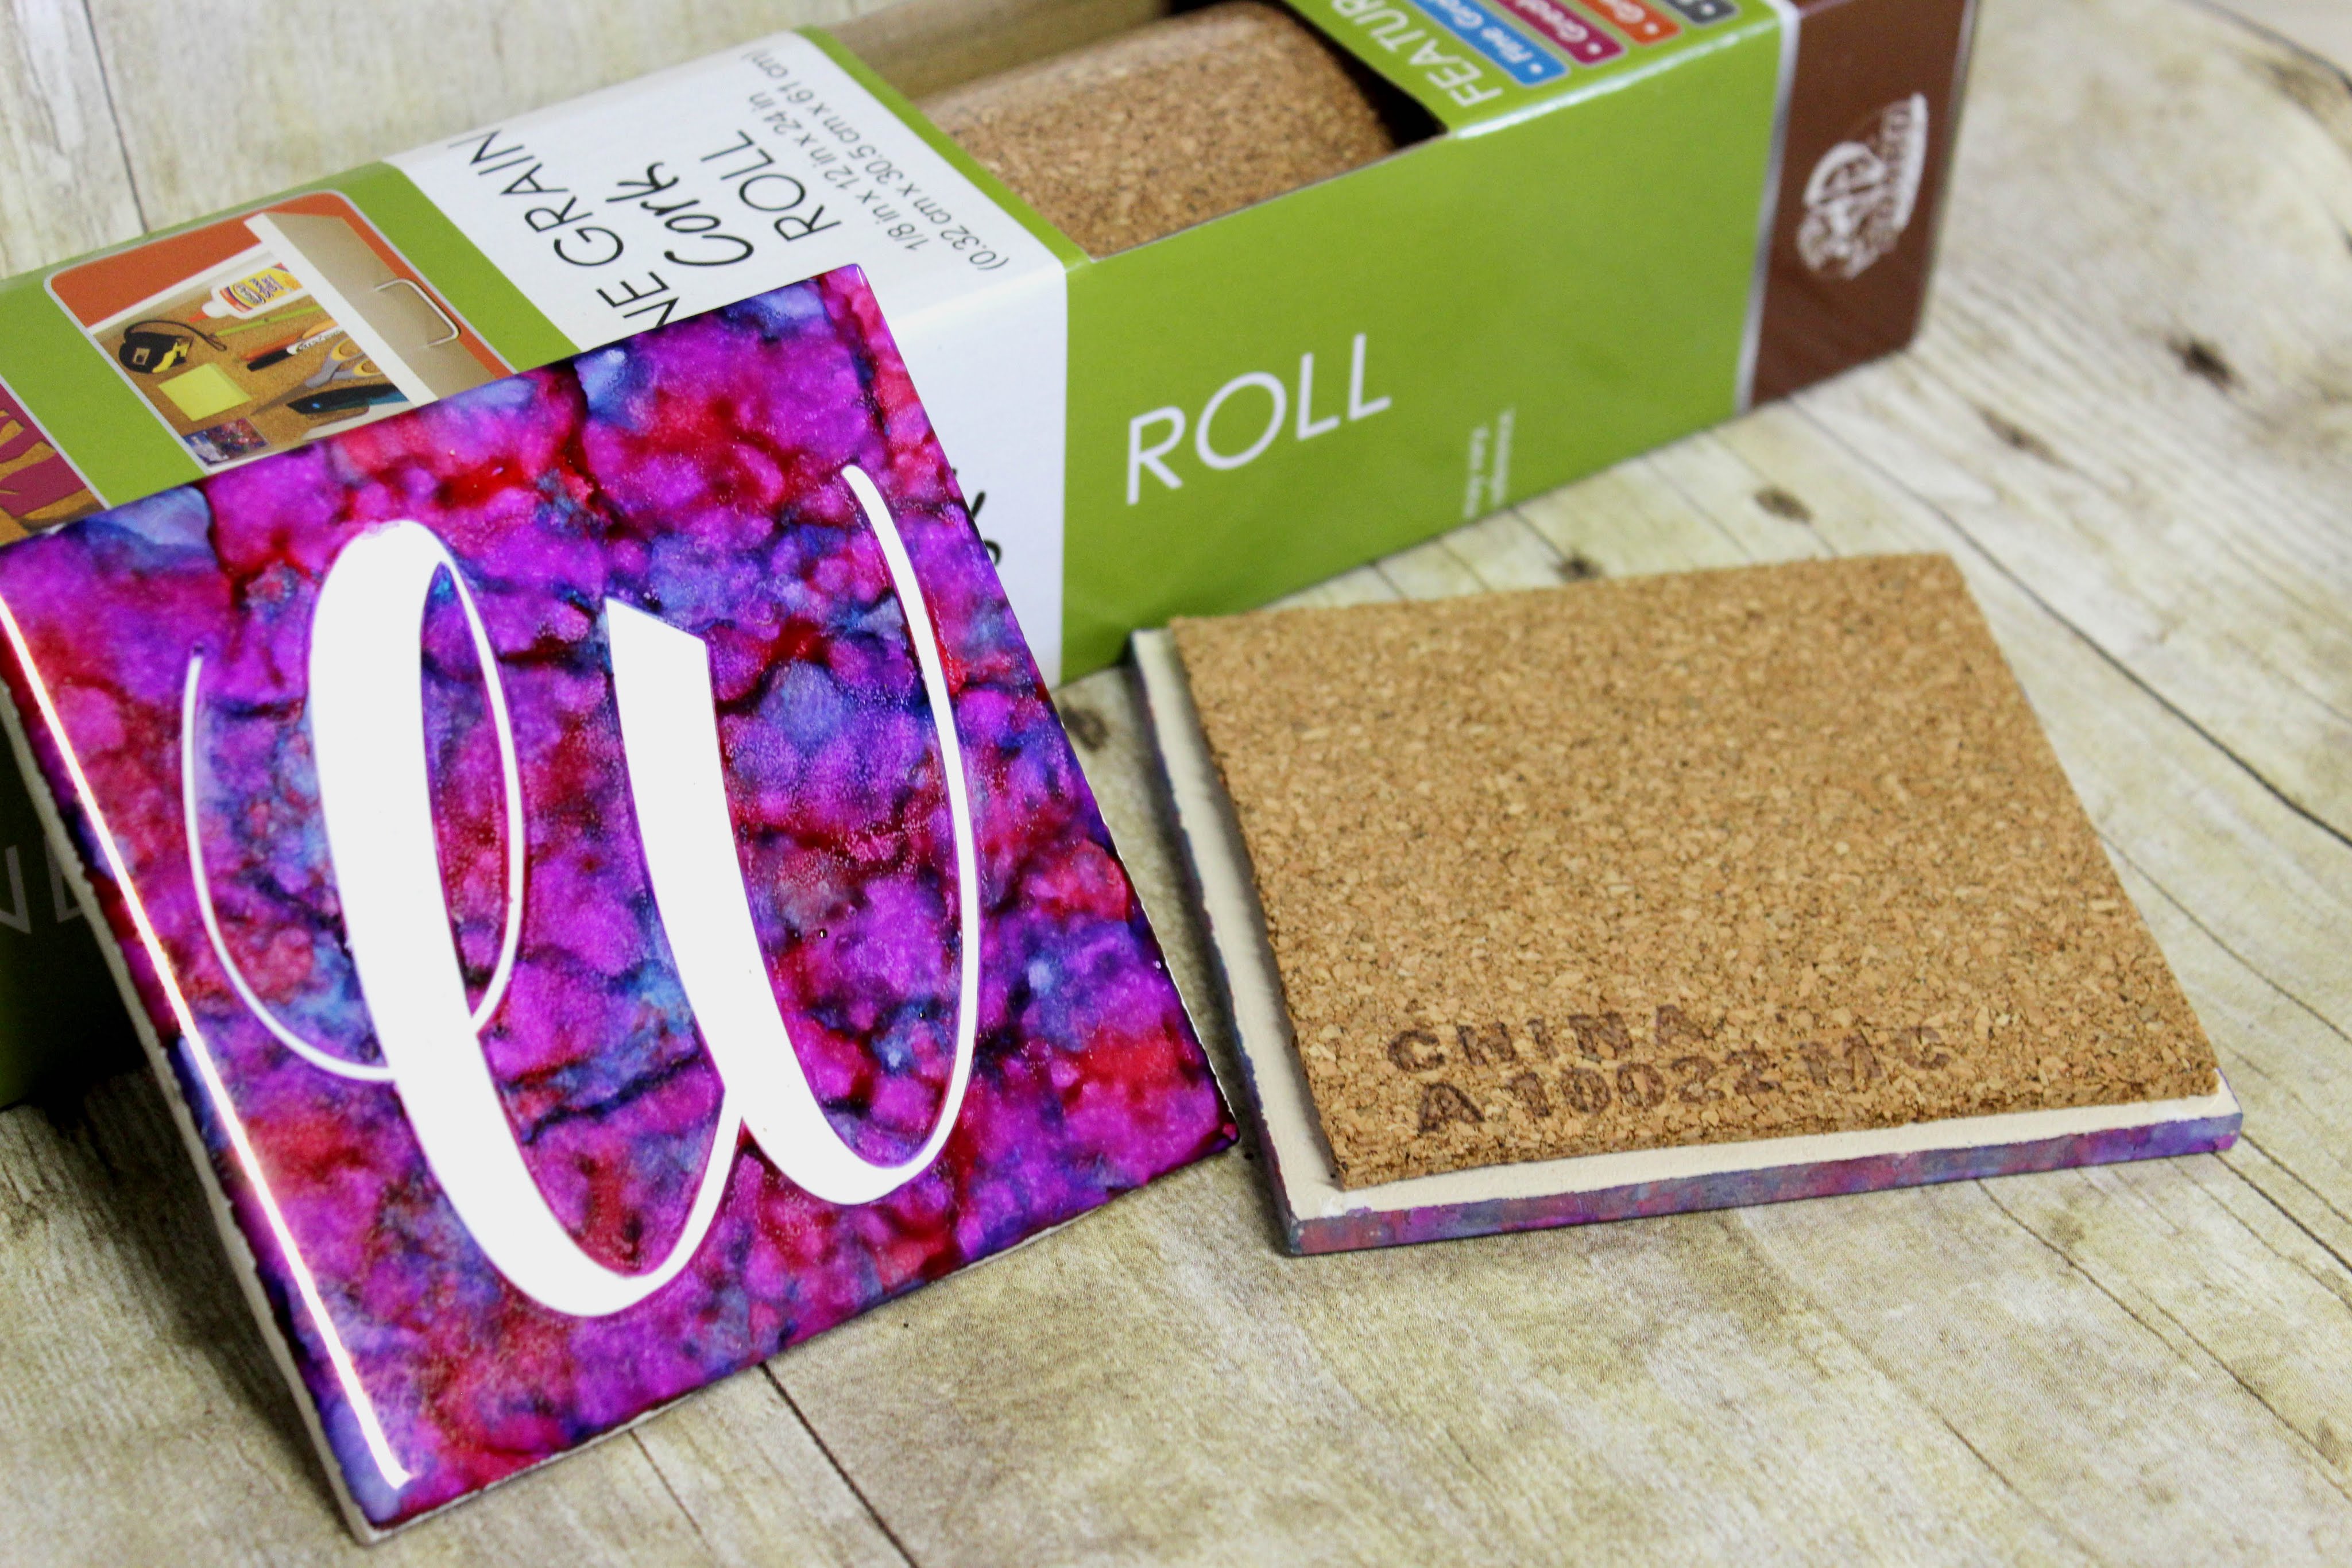 DIY Alcohol Ink Tile TutorialThis video shows how to create a pretty Alcohol inked tile, using stick-on vinyl as a resist. So long as one remembers to wait until the ink is completely dry, this gives a nice sharp outline against the coloured ink.2016-12-14 15:26:00
 -
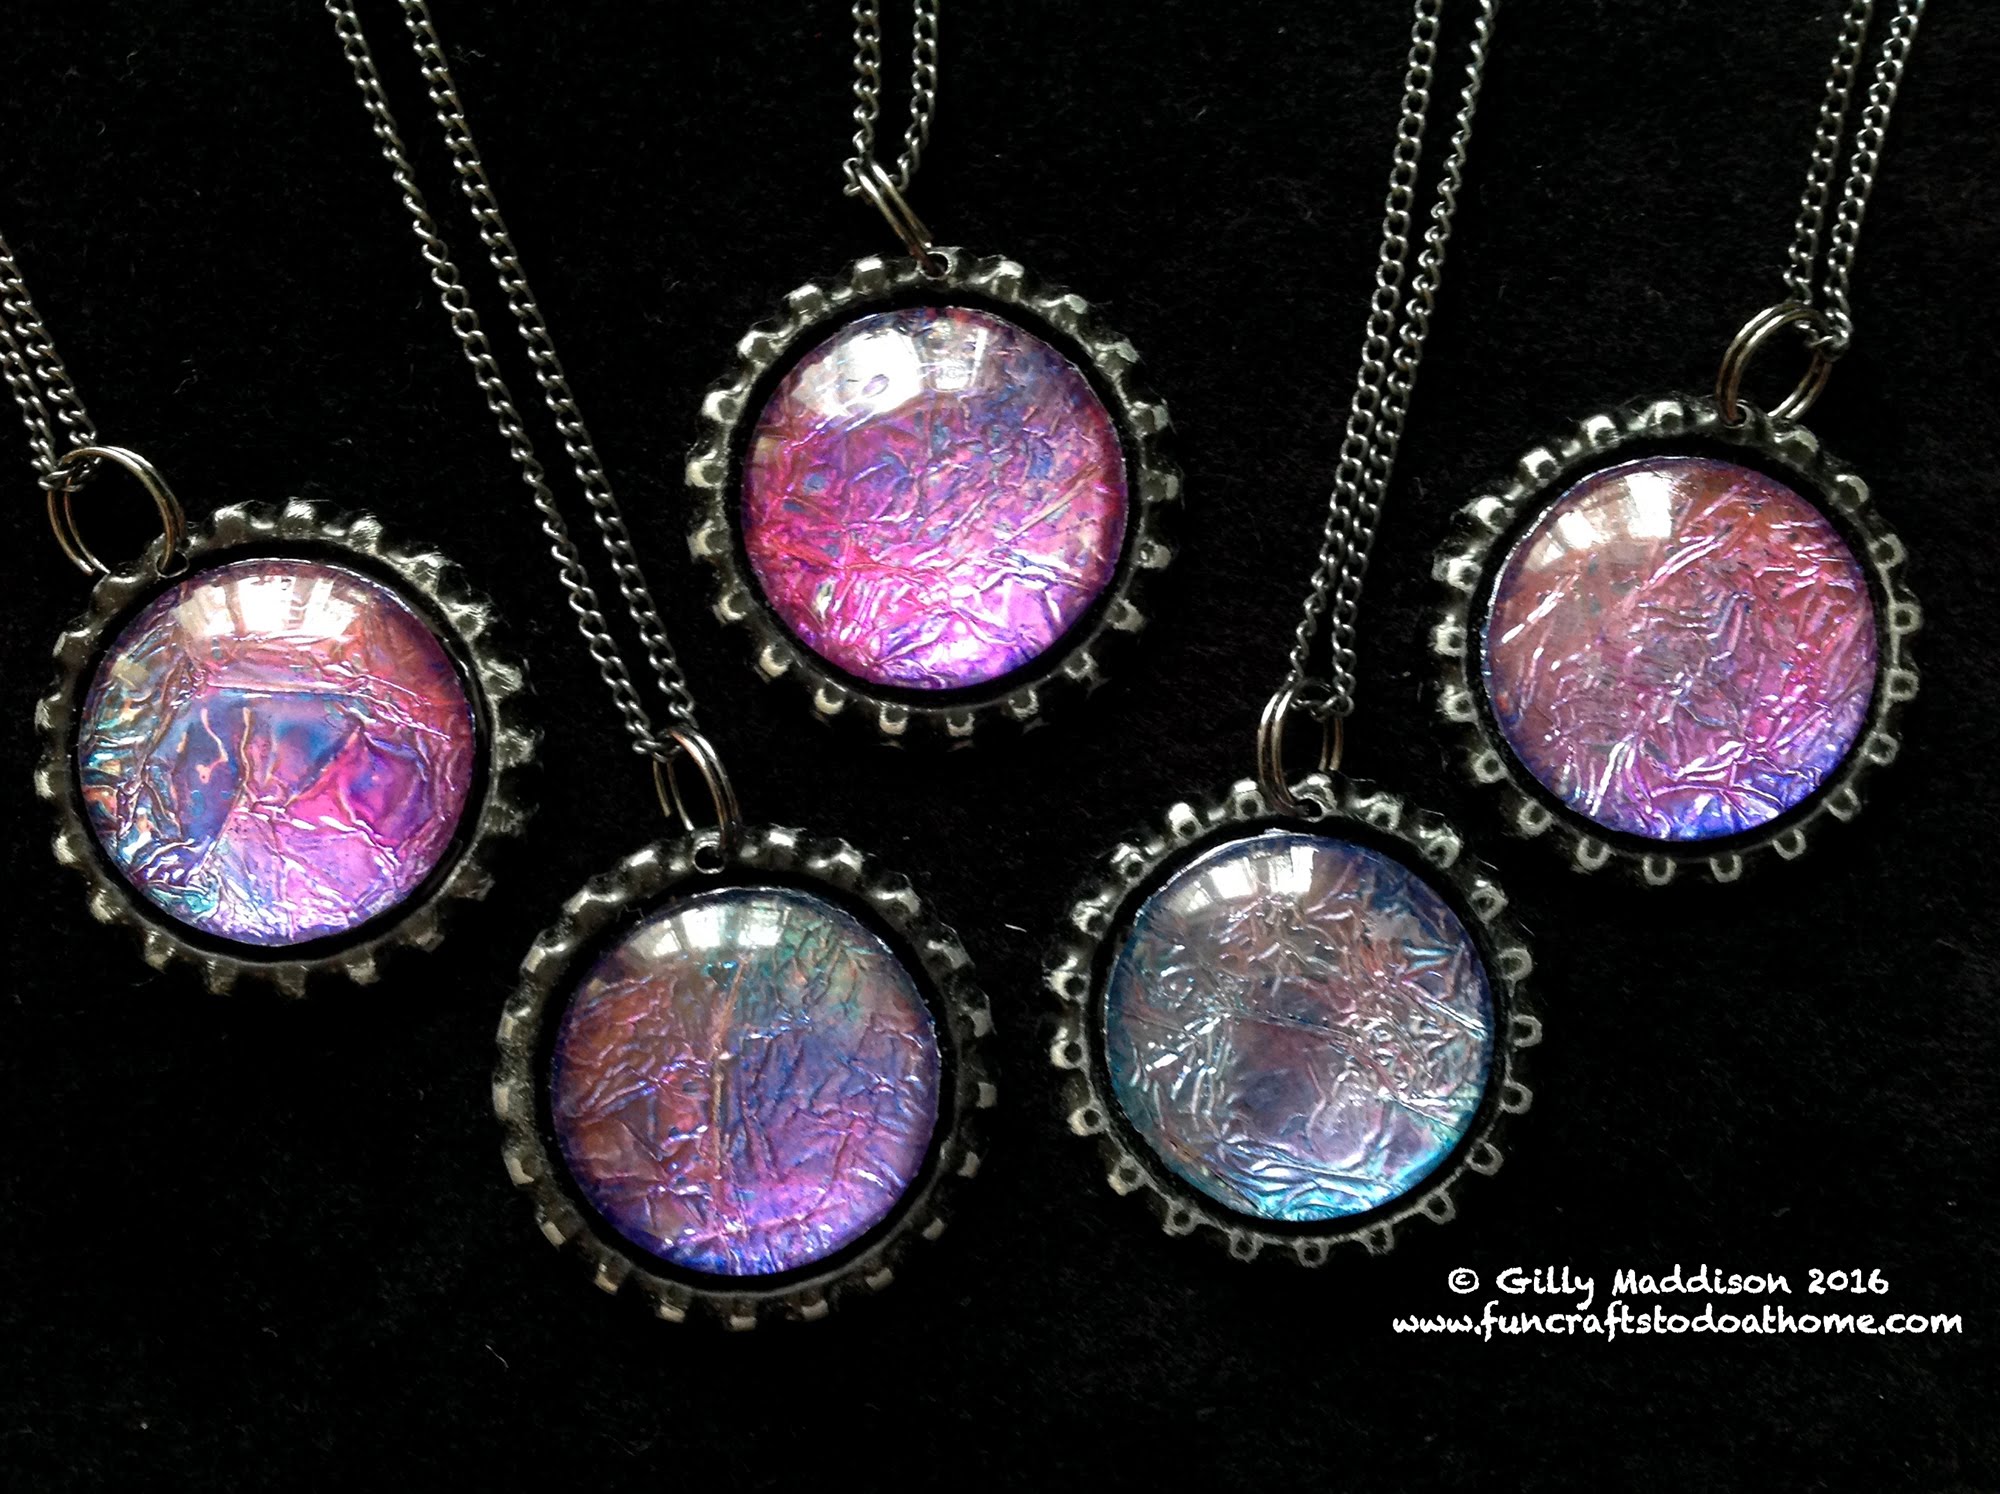 How To Make Alcohol Ink PendantsHow to make beautiful Moon Glow alcohol ink pendants using scrunched tin foil.2016-12-08 00:31:00
 -
 How to Make Silicone Molds For Crafting Using Liquid SiliconeThis is a video tutorial showing how to make handmade silicone molds for resin and clay. This method works for both flat and non flat pieces. The secret is using modelling clay as a base; that way the non-flat part of the master can be pushed inside the modelling clay and still lie flat. The frame can be pushed into the modelling clay also (no need for glue).
For resin use, make sure to use platinum cure silicone. If you use tin cure silicone, the resin may react to it and not cure properly. Polymer clay is NOT a good substitute for oil-based non-drying modelling clay since the silicone will react to it and will not cure properly.2016-11-29 07:31:00 -
 How to make a mold for resinHow to make a mold for resin
This tutorial shows how to make a mold for resin and polymer clay. This uses Mold Star 16 fast from Smooth-on (liquid silicone mould maker) which is great for resin. Tips: using a ceramic tile as backing, cookie-cutter for frame, glue everything to the tile with white glue and hot glue.2016-11-29 07:19:00 -
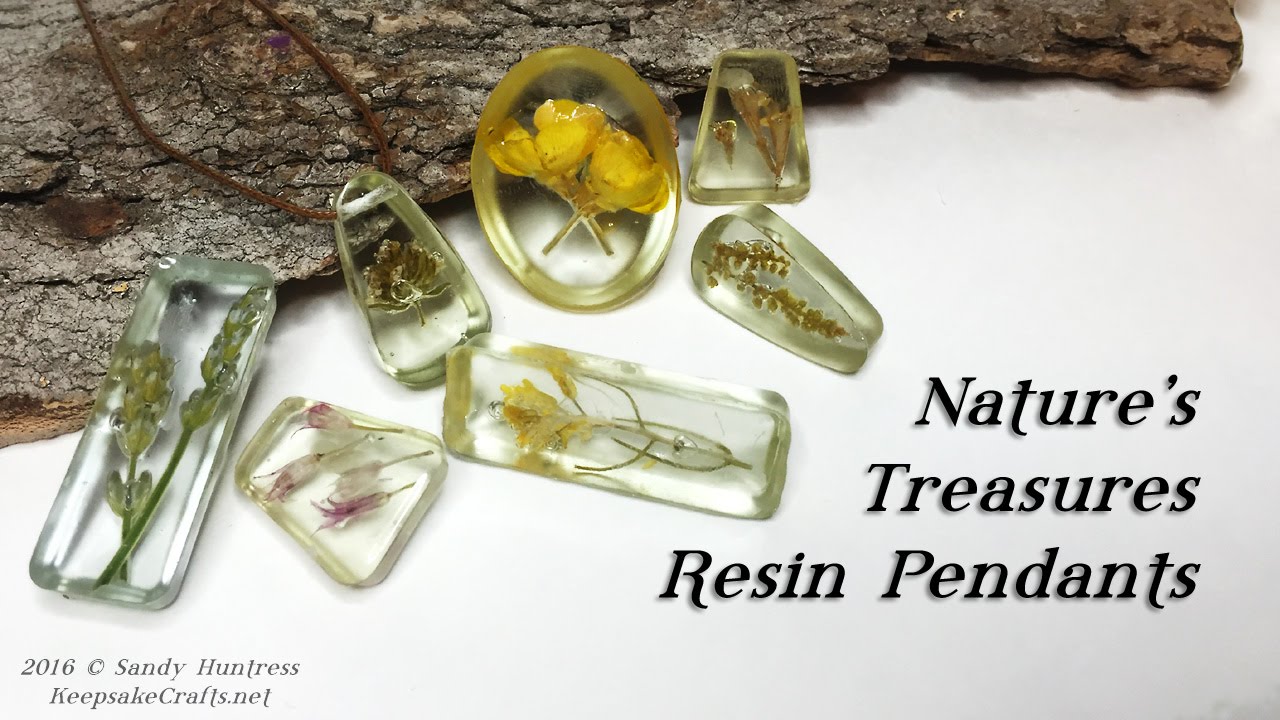 Nature's Treasures -Resin Pendant Jewelry TutorialThis tutorial shows how to use UV resin to preserve tiny bits of plants as clear cabochons. Interestingly, these are not dried or pressed, but freshly picked.2016-11-28 23:04:00
 -
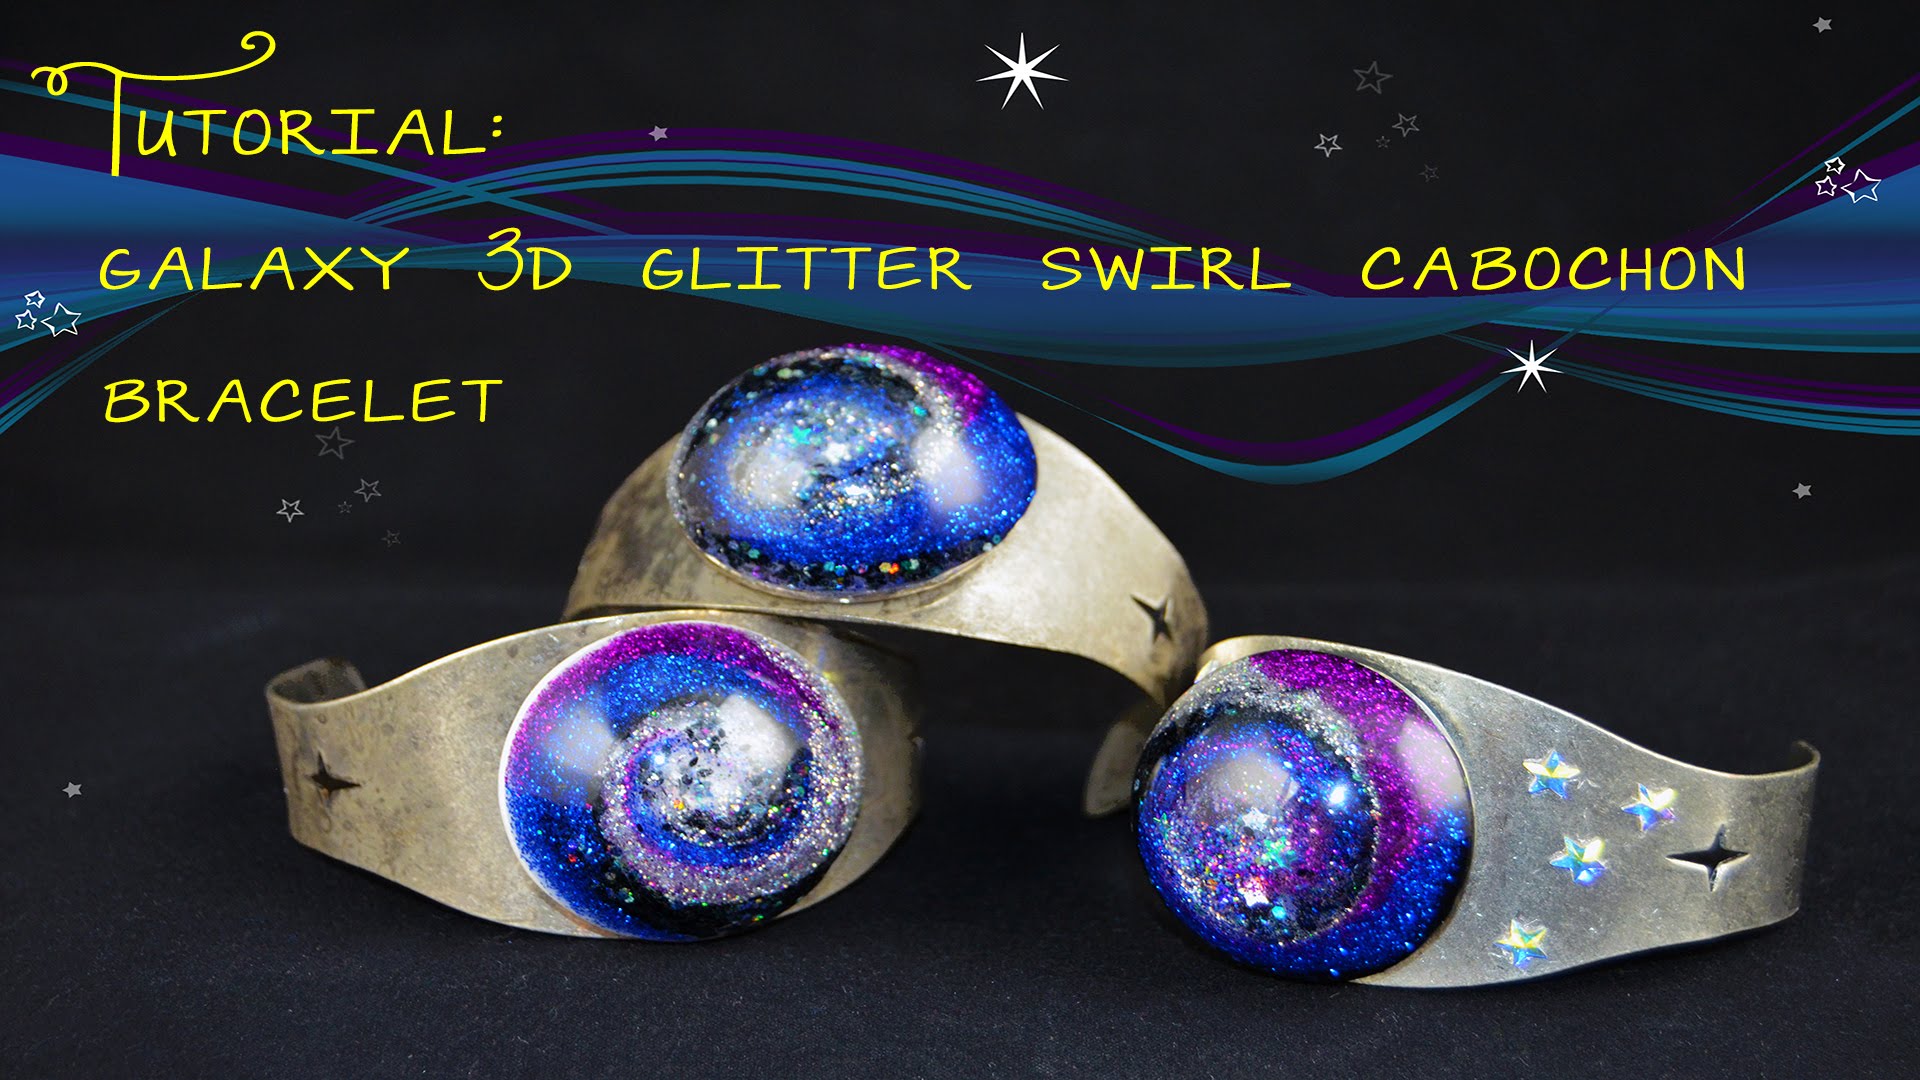 Tutorial - Galaxy Resin 3D Swirl Bracelet!This video shows how to create a galaxy themed 3D glitter swirl in a resin cabochon. This has some really useful info on how to get the swirl effect. You need to let the resin cure a bit until it is tacky. You mix your glitter with resin, and put different colours down on the outside edges of the mould, then swirl each one towards the centre. That way the colours remain distinct and the swirling effect is more obvious. This swirling method can take some practice and timing will depend on your brand of resin, so it needs to be experimented with.2016-11-28 21:04:00
 -
 Bangle bracelet form for molding in siliconeHow to make your own bangle bracelet form for molding in silicone - Resin Obsession This tutorial goes through how to make your desired shape for a bangle out of polymer clay (and bake and sand it) and then use that bangle form as the basis of a silicone mould.,2016-11-28 17:49:00
 -
 Glitter Charms | DIY Project | Resin Spheres | Craft Klatch | How ToDIY craft tutorial for easy resin and glitter sphere charms. Good tutorial for showing how to use sphere moulds, and how to finish them so they can be hung (as charms or pendants).2016-11-26 00:16:00