How to generate realistic mass waterdrops on a surface
Based on this tutorial written by devvv. This has been adapted for Gimp 2.2.
Learn how you can make very cool and realistic waterdrops with GIMP.
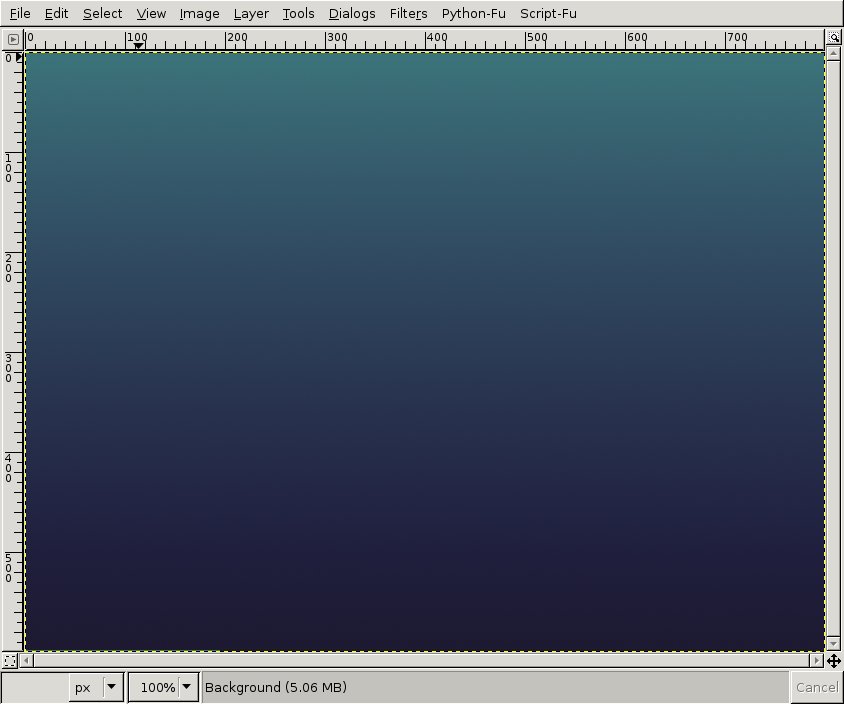
- Create a new file: 800x600px. Fill it with any
background color you want. I filled it with a nice violet-cyan
gradient.
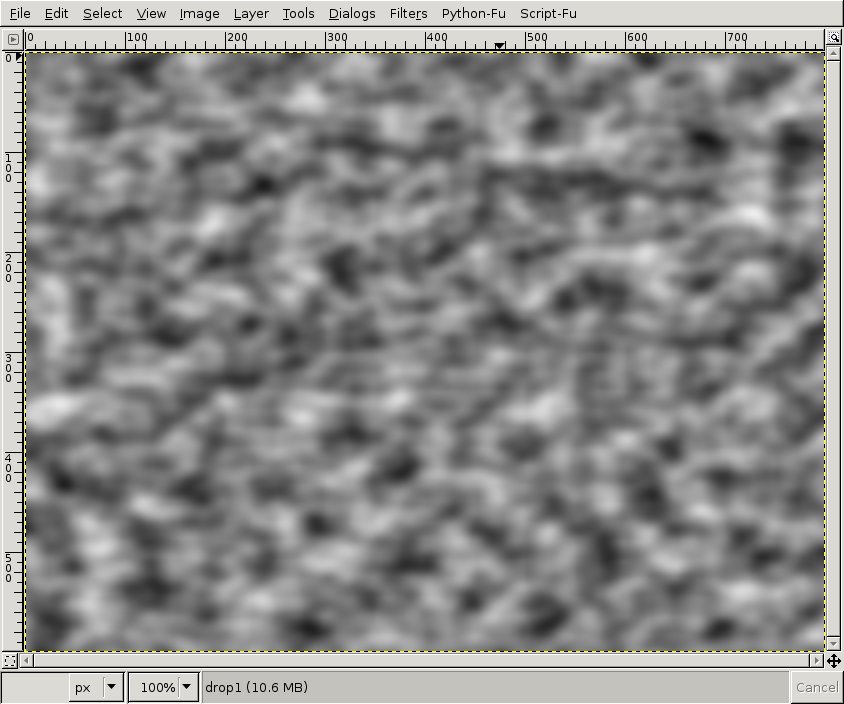
- Add a new Layer. Filters / Render / Clouds /
Solid noise. Use max values: 16/16.
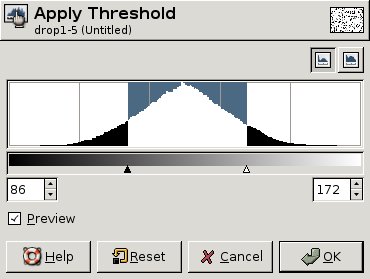
- Layer / Colors / Threshold. Use the values left:
86, right: 172.
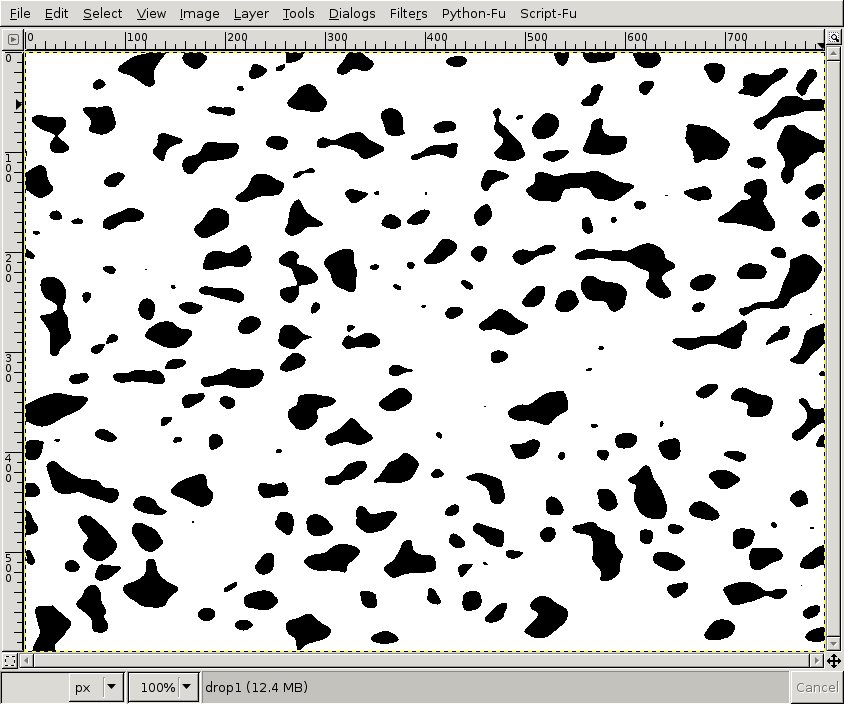
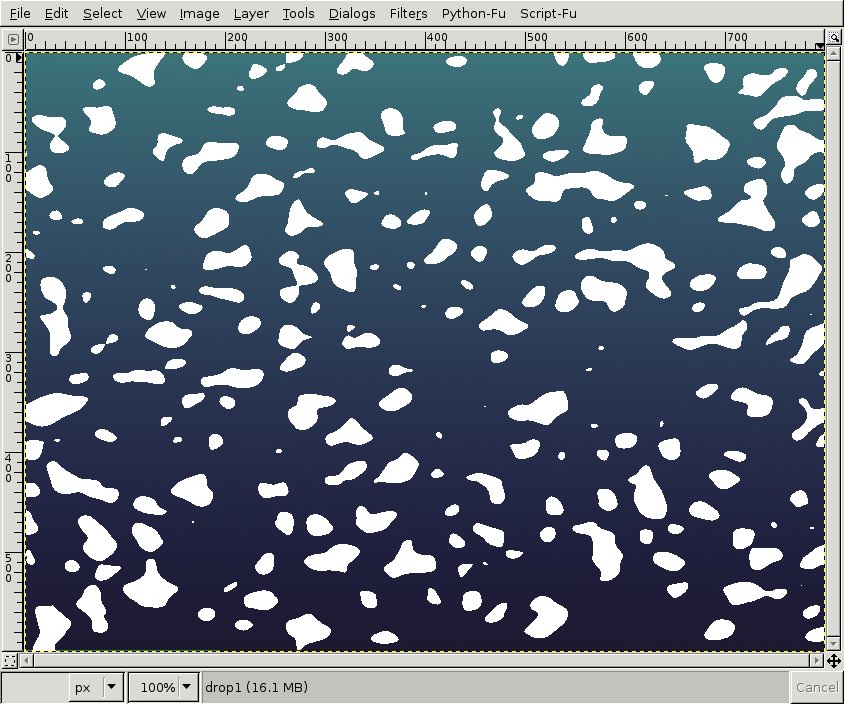
- You'll get a picture that looks like mine
below:
- Choose Filters / Colors / Color to Alpha and
choose white to make all the white transparent.
After this invert all the pixels: Layer / Colors / Invert. After that all black should be white.
- Duplicate this layer, make it invisible by
clicking the eye icon left to the layer in the layers dialog. Right
click the layer in the layers dialog: "Alpha to Selection".
Select / Save To Channel.
Press CTRL+SHIFT+A to deselect all.
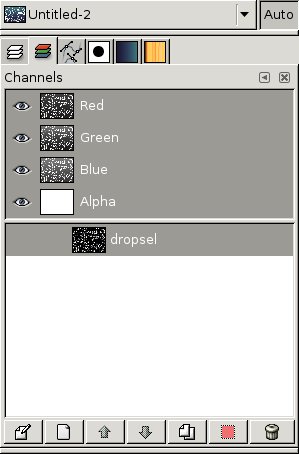
Go to the Channels dialogue and make the new channel active. Probably a good idea to rename it too. I renamed it to "dropsel". Click on the eye symbol to make the channel visible.
Use Filters / Blur / Gaussian Blur 3 times with these values: 7 then 3 and finally 1. Click the eye symbol to make the channel invisible.
Switch back to the layers dialog and click the layer that contains the white "drops".
-
Make sure the white drops layer is active. Now we get to the important bit:
Filters / Light Effects / Lighting effects...
We will now illuminate the drops from 2 sides (from top and from bottom) so we get some pretty real hightlights for the water. We need 2 directional light sources.
Use the following values:- Options:
- Leave as default.
- Light:
-
- Light 1:
- Type: directional
Direction X:0.00
Direction Y:-1.50
Direction Z:0.00 - Light 2:
- Type: directional
Direction X:0.00
Direction Y:2.50
Direction Z:0.00
- Material:
- Glowing:0.50
Bright:0.25
Shiny:0.10
Polished:10.00
Metallic:off - Bump Map:
- Enable Bump Mapping: on
Bumpmap image: dropsel
Curve: linear
Maximum height: 0.25 - Environment Map:
- Leave at defaults.
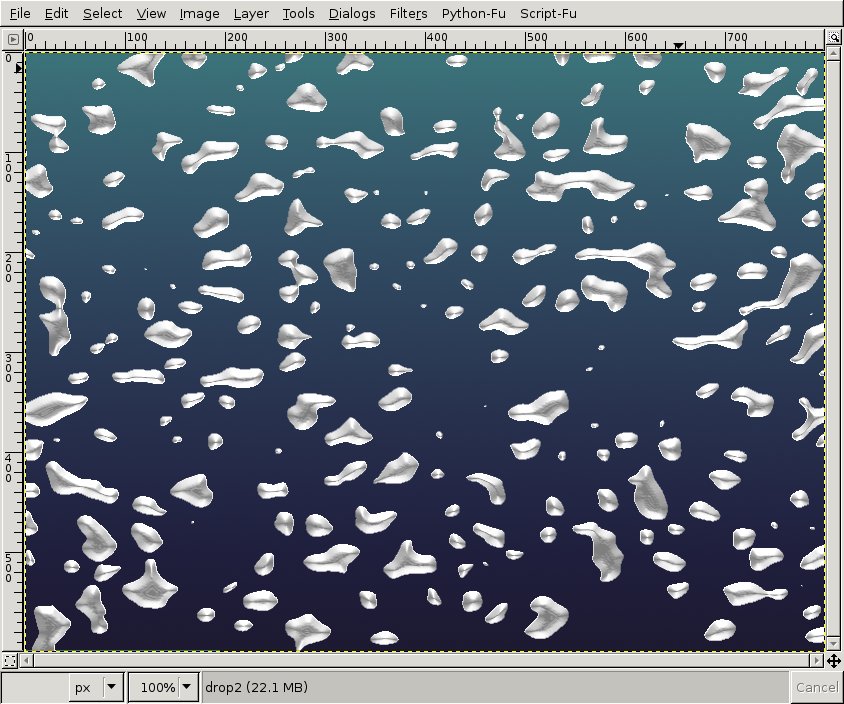
Don't forget to use the channel we created in step 6 as bumpmap.
You get something like this:
- Lock the alpha channel ("keep transparency") of
this layer. This option is found above all layers. Then use Filters
/ Blur / Gaussian Blur: 4px.
Using this option has the effect that all filters or anything else you may do on a layer is only applied to the visible pixel.
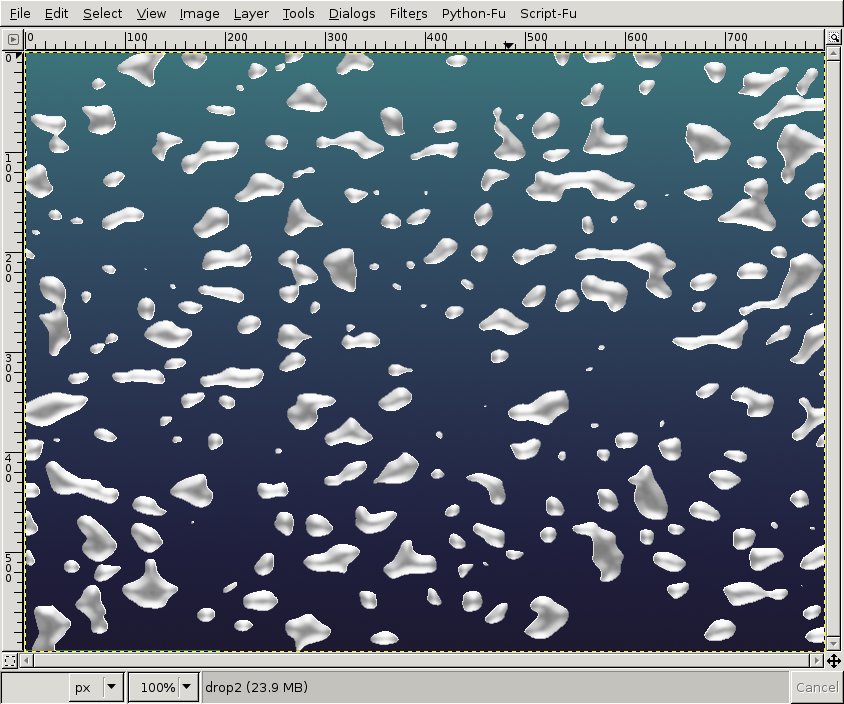
In this step we use this to get nice little blurred grays.
You get the following:
- However we need to see clear differences between
bright and dark gray as well as a clear white.
After this you make the gray in the middle transparent by using Filters / Colors / Color to Alpha again (pick the gray in the middle).
You get the following:
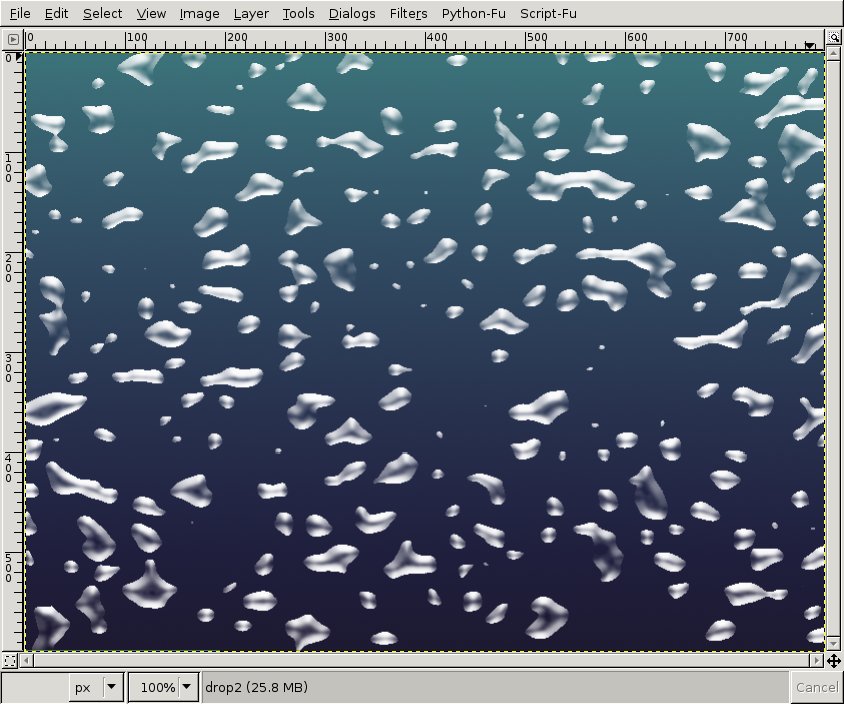
- At this point, the result already looks pretty
good, but we can still make some improvements: Any drop needs a
soft black shadow to look more real.
Rightclick the invisible white layer in the layers dialog and choose "Alpha to Selection".
With this selection active, use Script-Fu / Shadows / Drop Shadow: X:2,Y:3, Blur:9, Transparency: 30. Deselect "Allow resize".
Deselect all: Select / None.
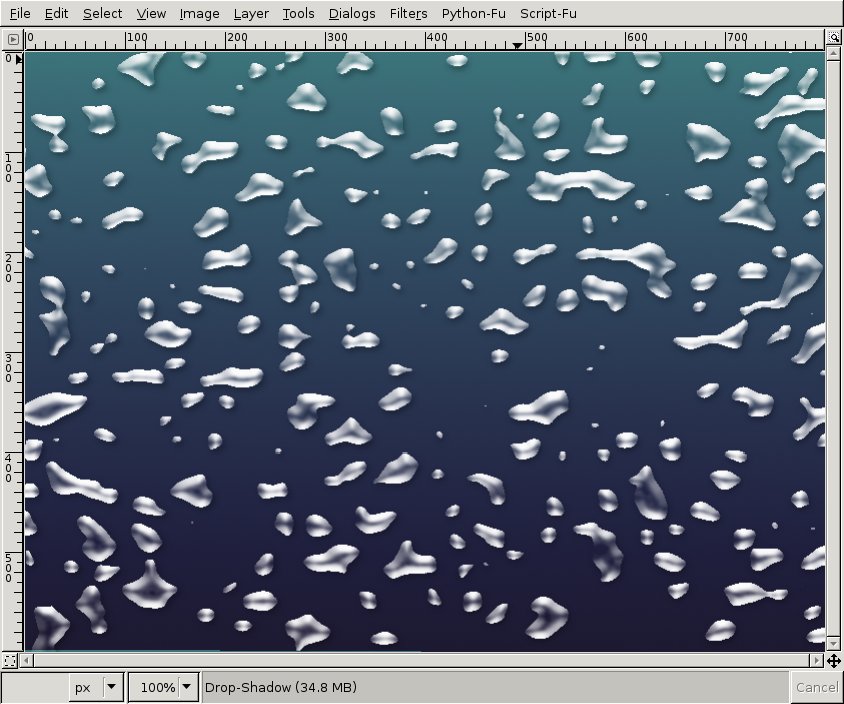
- Our drops are a bit too white and not
transparent enough. Activate the visible drops layer. Disable the
"keep transparency" option.
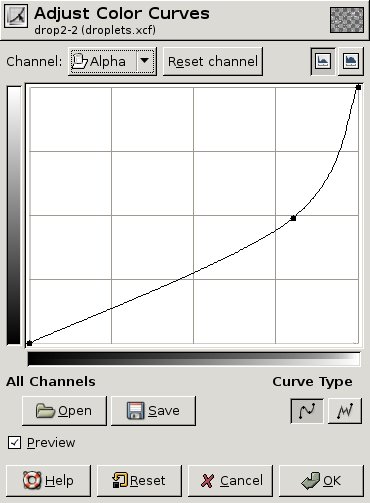
Layer / Colors / Curves, use the Alpha channel and apply the curve seen on the picture.
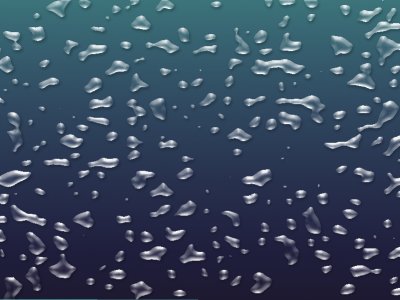
- Done!
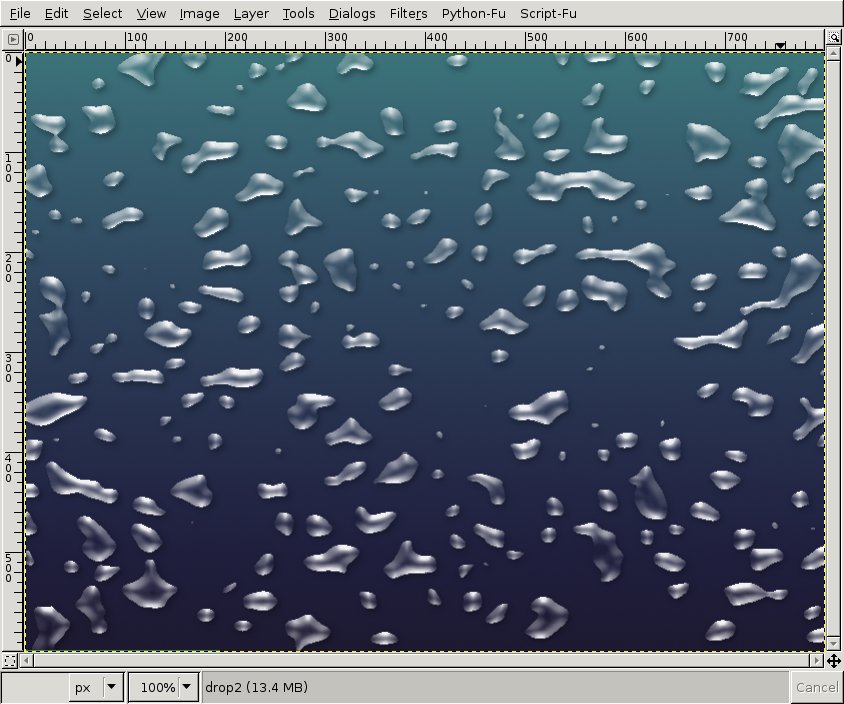
- Tip: Shrink the size of the picture afterwards
to get an even more realistic look!
Give comments here.